
Heating rods and elements - how to choose
If your water towel radiator sits in the bathroom over summer like a dead piece of metal, with towels only drying through evaporation, a heating rod or element is usually the answer. It's an electric heating insert that screws into the radiator's bottom outlet in place of the original plug and, outside the heating season (or even year-round, if the radiator isn't connected to the heating at all), turns it into a fully functional electric dryer. It sounds simple, but choosing the right output, length and type of rod determines whether you'll have warm towels for a few cents a day, or end up buying something that doesn't even fit the radiator, or can't heat it up properly. In this article we go through how heating rods and elements differ from classic electric radiators, how to calculate the output you need, what to watch out for with dimensions and installation, and which specific models are worth considering.
What exactly a heating rod is and how it differs from an element
A heating rod is a straight or slightly curved metal component with a heating element inside, fitted into the bottom branch of a towel radiator in place of the drain plug. Inside is an encased coiled resistance wire (similar to an electric kettle) that heats the heat-transfer liquid directly inside the radiator body - usually a mixture of water and antifreeze/anti-corrosion fluid, and oil in some models. In practice the word "element" is used in two ways: either as a synonym for the heating element itself inside the rod (technically still the same rod), or to describe shape-adapted inserts for radiators that don't have a straight bottom tube but a slightly bent or wavy shape due to the construction of a specific radiator type. What matters most for the ordinary customer is this: both variants solve the same problem and are chosen by the same criteria - output, length/thread size, control type and compatibility with the specific radiator.
It's important to distinguish a heating rod from a complete electric towel radiator. An electric radiator is a whole unit designed from manufacture for electric power, with its own sealed liquid circuit and a heating element built in by the manufacturer. A heating rod, by contrast, is an add-on component you buy separately and fit into an existing water or combined radiator. So if you have an ordinary water towel radiator connected to central heating at home and want to be able to run it outside the heating season too (typically May to September), a rod or element is the way to achieve that without replacing the whole radiator.
Why it's worth heating the radiator outside the season
In practice, we come across this question most often from customers who notice their bathroom feels damp in summer, towels don't have time to dry, and in winter a warm towel radiator used to do the job. The boiler is shut down over summer, the radiator is cold, and the only way to warm it up at least occasionally is an independent electric heat source directly inside the radiator body. The second common situation is a new build or renovation, where the towel radiator is fitted as a combined type from the start - i.e. with both a rod and a heating connection at once, via a three-way or four-way valve. This kind of solution makes sense especially in bathrooms where you want a warm towel available any time of year, without running the whole house heating for it.
How to choose the right rod or element output
The most common mistake when choosing is to go by the radiator's length alone, regardless of its actual water volume. Two radiators of the same height can have significantly different volumes depending on the thickness and number of tubes (a classic flat towel rail versus a double-row or tubular type), and it's the volume of water that needs heating that determines the rod output required. In general, for an ordinary bathroom towel radiator with a fill volume up to around 6 litres, a 150 W rod is enough - this is also the typical output for compact radiators in small bathrooms up to 4-5 m². For a volume of 6 to 10 litres, an output of around 300 W is recommended, for 10 to 15 litres 450 W, and for larger radiators above 15 litres (typically taller or wider models in family bathrooms) it's worth going for 600 to 800 W, so the radiator body heats up within a reasonable time - i.e. 30 to 45 minutes of switching on.
You can find the radiator's water volume either in the technical sheet of the specific model (manufacturers of towel radiators commonly state it), or estimate it roughly from the dimensions and construction type - this value is also available on each radiator's product page on our site. When buying a rod, we recommend choosing one step higher output rather than exactly at the calculated value - a slightly more powerful rod can be throttled back with the thermostat and will heat the radiator faster, whereas an undersized rod won't be able to heat it up sufficiently even running at full power.
Heating time and electricity consumption
The practical question customers care about most is what such a rod actually costs to run. Let's use an average electricity price of €0.20/kWh (a typical value for households in 2026). A 150 W rod running for one hour uses 0.15 kWh, which is €0.03. If you leave it running four hours a day (a typical scenario - for example morning showers and evening), daily consumption is 0.6 kWh, roughly €0.12 a day, which is under €4 a month. For a more powerful 600 W rod at the same four-hour daily run, consumption works out at 2.4 kWh a day, i.e. €0.48 a day and roughly €14.40 a month. This is exactly why a rod with a thermostat pays off - it switches off once the set temperature is reached and only switches back on to maintain it, so real-world consumption is lower in practice than for an unregulated rod running flat out the whole time.
A rod without a thermostat, with a mechanical thermostat, or with WiFi control
On the market you'll find three basic categories of heating rods by control type, and the difference in price and comfort is noticeable. The simplest rods without a thermostat just have an on/off switch (physical, or via a switched socket) and run at full power until someone switches them off - they're cheaper, roughly €40 to €70, but risk overheating the radiator and wasting electricity if you forget to switch them off. Rods with a mechanical or electronic thermostat (typically with a dial or button control right on the rod body) let you set the desired temperature, for example 45 to 55 °C, and the rod regulates itself - priced roughly from €55 to €90, and this is exactly the category the Electric heating rod with thermostat, 150 W - white model from our range belongs to. The most comfortable, but also the most expensive category, are rods with WiFi or app control, where you can schedule heating remotely via your phone (for example switching on 20 minutes before you get home) - these are priced from around €90 to roughly €160 depending on brand and features.
Dimensions, thread and compatibility with the radiator
The first thing to check before buying is the diameter and thread type of the original plug in your radiator - the vast majority of common towel radiators on the Slovak market have a bottom drain outlet with a G 1/2" thread, a smaller share (mostly larger-volume or older models) use G 3/4". You'll find this either in the radiator's documentation, or simply by unscrewing the original plug and measuring it with callipers or comparing it to a sample in a shop. The second parameter is the rod's length - it must match the length of the radiator's bottom horizontal tube (for straight models), or the element must be shaped to the specific radiator profile for bent types. A rod that's too long won't fit in the radiator, while one that's too short won't efficiently transfer heat along the whole length of the bottom tube.
A third, often overlooked detail is the installation type - standalone (the rod replaces the plug, the radiator stays purely electric and must be disconnected from the water heating via shut-off valves) or combined (the rod is part of a T-piece or special valve that lets you run the radiator on water, on electricity, or both as needed, even simultaneously). Combined installation also requires buying the appropriate switching valve, which is usually bought as a separate part alongside the rod - if you're planning a combined solution, check with us or directly in the product description whether it's compatible with the rod model you've chosen.
How fitting a heating rod works
Installation can be handled by a capable DIYer, but it requires following the right procedure to avoid water leaks or damage to the radiator. First the radiator needs to be shut off from the water heating by closing the supply and return valves (if the radiator is only connected to water and you're converting it to purely electric, it needs to be drained completely). The water is then drained from the radiator body via a drain valve, or directly through the opening after unscrewing the original plug - have a container and cloths ready, a volume corresponding to the radiator's capacity will come out. Once drained, the original plug is unscrewed, PTFE tape is wound onto the new rod's thread, or hemp sealant with paste is used, and the rod is carefully screwed into the opening - first by hand, then tightened slightly with a spanner (not excessive force, so as not to damage the seal or the thread in the radiator body). Finally the radiator is refilled with water or the heat-transfer mixture and bled through the air vent valve at the top, until a continuous stream of liquid without air bubbles flows out. The rod is plugged into an ordinary 230 V socket, ideally through an RCD, if the bathroom doesn't already have its own protected circuit.
Recommended models from our range
Below we present a few proven models that cover different needs - from a simple standalone rod with no regulation, through a thermostatic rod, to variants suitable for different radiator shapes (straight and U-profile).
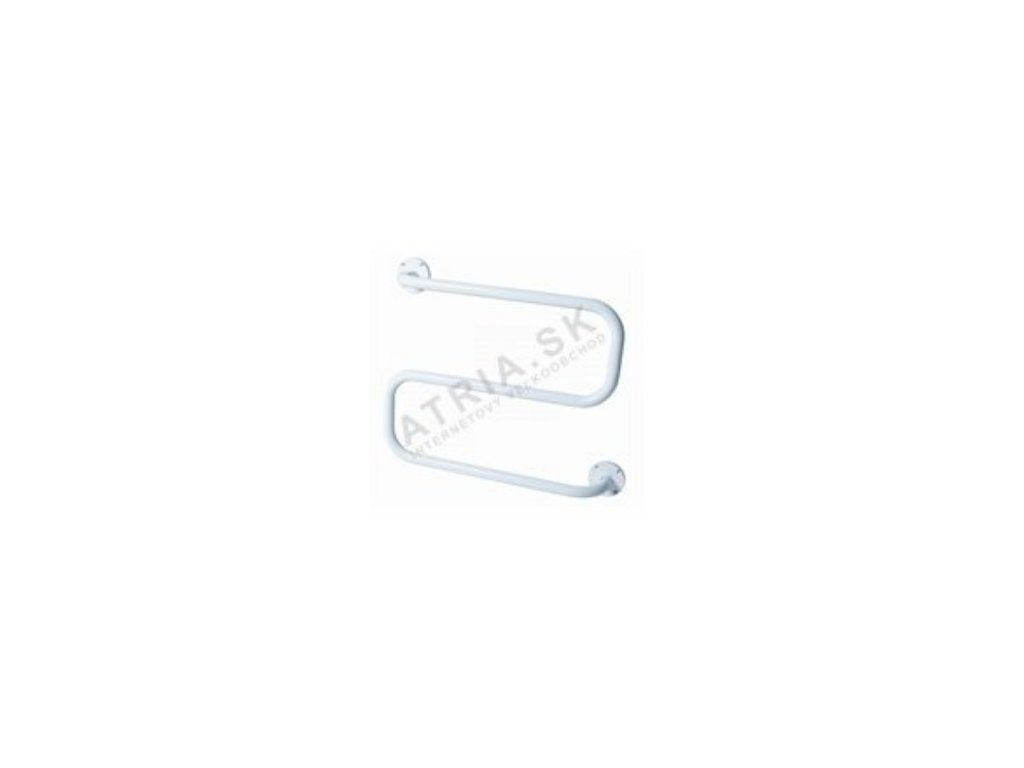 |
DEVIrail S Biely - a straight heating rod suitable for standard towel radiators with a straight bottom tube, the white finish blends visually with most white radiators. A good default choice for small to medium radiator volumes. Price from €94.91. |
 |
DEVIrail S Chróm - the same line as the S Biely model, but in a chrome finish for radiators with a polished or chrome-plated surface, where a white rod would visually clash. Same installation parameters, just a different finish. Price from €99.81. |
 |
DEVIrail U Biely - a U-profile variant, designed for radiators whose bottom branch isn't a single straight tube but a U shape (common on some designer and corner models). Check your radiator's exact profile before buying this type. Price from €90.02. |
 |
DEVIrail W Biely - a W-profile variant for radiators with a more complex bottom branch (a double bend), typically on larger-volume or more design-focused models. A higher-output line within this series. Price from €115.46. |
 |
Electric heating rod with thermostat, 150 W - white - an affordable choice with a built-in thermostat, ideal for exactly small and medium bathroom radiators with a volume up to around 6 litres, where 150 W is fully sufficient. Thanks to the thermostat you set the maintenance temperature yourself and the rod won't run flat out unnecessarily. Price from €54.87. |
Maintenance and everyday operation
A heating rod is undemanding to run, but a few rules will extend its life and output. The radiator should never run with the rod switched on while empty, i.e. without enough liquid in the body - it's therefore important to bleed the system thoroughly after every installation or refill, since an air pocket around the rod can cause local overheating and shorten the heating element's life. If you don't use the radiator for a long time (for example outside summer on a combined installation), we recommend occasionally running the rod briefly even outside normal use, to prevent deposits and keep the thermostat working properly. On models with a thermostat, it's worth checking every so often that the set temperature matches reality in practice (for example by touching the radiator body after a longer run) - a significant difference can indicate a worn thermostat.
If you're planning a combined installation (rod plus connection to water heating at the same time), check compatibility with the radiator's existing shut-off valve set - not every valve allows a rod to be fitted afterwards without replacing the whole valve set. In that case it's worth asking for advice directly when choosing, so you don't end up buying parts that don't work together.
Safety and electrical installation
Since a heating rod is an electrical appliance permanently located in a high-humidity environment (bathroom, utility room), installation safety needs to be considered right from the planning stage. Quality models have a casing rated at least IP44, meaning protection against splashing water from all directions - always check this rating in the specific product's technical specification. The socket you plug the rod into shouldn't be located immediately next to a shower cubicle or bathtub (bathroom electrical installation standards distinguish protection zones 0 to 2, with an ordinary socket only allowed outside zone 2), and the whole bathroom circuit should be protected by an RCD with a 30 mA trip current. If your bathroom doesn't have a separate protected circuit, or you're not sure about the socket's position relative to the wet zones, consult an electrician before buying the rod - it's worth dealing with any additional electrical work at the same time as fitting the rod, not afterwards.
Another safety feature you'll appreciate especially on models without WiFi control is a built-in thermal cut-out - this disconnects the heating element if the thermostat sensor were to fail and the rod kept trying to heat even after reaching an unreasonably high temperature. In normal operation you'll practically never reach this state, but it's good to know this safety layer exists as a backup alongside normal thermostat regulation. When buying a rod for a household with children, also consider a model with lockable or hidden controls, so the set temperature doesn't get changed by accident.
Energy class and the link with underfloor heating
Heating rods aren't formally rated with energy labels the way, for example, heat pumps or boilers are, since they're direct electric-resistance appliances with an electricity-to-heat conversion efficiency close to 100%. That means when comparing two rods of the same output, you won't be looking for a difference in efficiency, but in the quality of regulation (thermostat accuracy) and how well the rod can spread heat along the whole length of the radiator - i.e. the construction of the heating element itself and the casing material. If you're also dealing with choosing underfloor heating or an electric boiler for your home at the same time, we recommend reading our separate guides on those topics too - the principles for choosing output based on volume or area are somewhat similar, but the specific values and types of regulation differ.
Frequently asked questions
Can I fit a heating rod myself, or do I need a professional?
For a standalone installation (the rod replaces the original plug, the radiator is disconnected from the water heating), a capable DIYer with basic tools - a spanner, PTFE tape and a container for the drained water - can manage the installation. For a combined installation with a switching valve, which involves working directly on the central heating supply, we recommend calling in a heating engineer or plumber, especially if you have no experience working on a heating system.
Can a rod be used in a radiator that's still connected to the central heating?
Yes, but only as part of a combined installation with the appropriate switching or three-way valve, which lets you separate the electric circuit from the water one. Without such a valve, running the rod risks losing heat into the water supply too (or vice versa), which is energy-inefficient and in some cases risky for the rod itself.
How long does it take for a rod to heat up the whole radiator?
With a correctly sized output (based on the radiator's water volume, see the table above), the radiator noticeably heats up within 20 to 40 minutes of switching on. If the rod is undersized for the radiator's volume, this time increases significantly and the radiator may not heat evenly across its whole height.
Is it worth paying extra for a rod with a thermostat?
In most cases, yes. The price difference between a rod without a thermostat and one with a thermostat is usually only €15 to €20, but the thermostat saves you on electricity consumption (the rod isn't heating flat out constantly, only to maintain the set temperature) and also protects the radiator from overheating if you forget it's switched on for a longer time.
What if I can't find out the exact water volume of my radiator?
If you can't find a technical sheet for your specific model, we recommend contacting us with the radiator's exact dimensions (height, width, thickness, number of tubes) - based on that we can estimate the volume and recommend a suitable rod output. As a last resort, the volume can also be measured directly - drain the radiator into a measuring container and record the amount of liquid that comes out.
Is there any difference between a rod for a white and a chrome radiator besides colour?
Technically it's the same heating element, only the surface finish of the rod's outer casing differs. The reason for choosing is purely aesthetic - so the rod visually matches the radiator's finish, since the bottom part with the rod is always partly visible with this type of installation.
Related topics
If you're dealing with choosing or running a towel radiator more broadly, check out these articles too:
- How to choose a towel radiator for the bathroom
- Electric, water or combined towel radiator
- What output does my towel radiator need
- Installing a towel radiator
You'll find the full range of towel radiators in the main category Towel radiators.
Have a question on this topic?
Can't decide, or dealing with a specific situation in your home? Write to us - we're happy to help.