
How to choose a heated towel rail for the bathroom
Almost everyone dealing with a renovation or building a house today chooses a heated towel rail for the bathroom - the reason is simple: it functions as a heating element and a towel dryer in one piece of "furniture". That's exactly why choosing one differs from choosing an ordinary radiator for the living room or bedroom: besides the output in kilowatts, factors such as the humidity of the environment, the connection method, the design in a small space, and how the unit will be used outside the heating season all play a role. In this article we go through, step by step, all the criteria you should consider before ordering a rail, including real examples from everyday installer practice and specific models currently in our stock.
Why choosing a heated towel rail for the bathroom is a different discipline than choosing an ordinary radiator
Whereas with a classic panel or column radiator in the living room you mostly just consider the output and whether it fits under the window, with a bathroom rail additional variables come into play. The bathroom is a room with high humidity, where the radiator is typically also used outside the heating season - in summer you need to dry a towel just as much as in January, only then you don't want the unit needlessly heating the whole room. That's why electric or combined rails, which can work independently of the heating circuit, are increasingly popular in bathrooms.
The second difference is spatial. Bathrooms tend to be small, often 4 to 8 square metres, and the rail also has to fulfil an aesthetic function - it's one of the few visible technical elements in a room where we otherwise try to hide all the pipework. The third difference is frequency of contact - wet towels are hung on the rail daily, you lean on it when getting out of the bath, children may grab hold of it. This places demands on the quality of the surface finish and the strength of the construction that you simply don't have to think about with a radiator behind the sofa.
In practice we've found it works well to advise customers to first clarify three things: how the radiator will be connected (water circuit, electricity, or both), what output they actually need given the size of the room, and only then deal with dimensions and colour. The order matters - doing it the other way round often ends with the customer having their dream designer piece that can't be connected to the existing pipework without demolition work.
Three ways to connect - water-fed, electric and combined rail
The first key decision is the method of connection. A water-fed rail is connected directly to the central heating circuit just like a classic radiator - so it only works when the boiler or another heat source is running. This is a disadvantage especially outside the heating season, when you want to dry a towel even in August, but the boiler is off. An electric rail has its own heating rod or spiral with a thermostat and works independently of the heating, simply plugging into a socket or a fixed electrical connection. A combined rail has both systems at once - the boiler heats it in winter, and you top it up with the electric rod in summer.
From the perspective of an ordinary household, in the field we most often find that the combined solution works best for bathrooms used all year round - in other words, almost all flat bathrooms. However, if it's a bathroom that's used only seasonally (for example at a cottage), or where an electrical connection is missing and running one would be costly, a purely water-fed rail remains a sensible and cheaper choice. Conversely, in new builds where the electrical wiring is planned from the ground up, we're increasingly seeing purely electric rails even in main bathrooms - mainly because they allow precise time scheduling (a thermostat with a weekly programme) regardless of whether it's the heating season or not.
A detailed breakdown of the advantages and disadvantages of all three types, including approximate running costs, can be found in the separate article Electric, water-fed or combined heated towel rail; here we'll focus mainly on output, dimensions and choosing a specific model.
How to determine the required output of a heated towel rail
Output is a topic where mistakes are most often made - either it's undersized (the radiator can't keep up with drying towels or heating a smaller bathroom during transitional periods), or, on the contrary, it's significantly oversized, which means needlessly higher consumption when run electrically. The approximate calculation we use for typical brick-built flat bathrooms with standard insulation is based on the room's area:
- up to 4 m² (small bathroom, e.g. just a shower enclosure and a basin) - an output of around 350 W is enough
- 5 to 6 m² (average flat bathroom) - we recommend around 550 W
- 7 to 8 m² (bathroom with both a bath and a shower enclosure) - around 750 W
- 10 m² and more (large or family bathroom, or combined with a utility room) - around 950 W
These figures assume the rail is a supplementary or top-up heat source alongside the flat's main heating (for example underfloor heating or classic radiators in the other rooms). If the rail is to be the sole heat source in the room, the figures should be increased by roughly 30 to 40 percent, and you should always also calculate the specific room's heat losses (ceiling height, number and size of windows, external walls). In older apartment blocks with worse façade insulation, it's worth going for the higher end of the ranges given above.
The following chart shows exactly these recommended outputs by bathroom size, as listed above:
Why it's worth slightly oversizing rather than undersizing
Electric rails with a thermostat can be regulated downward - the thermostat simply maintains a lower temperature if you don't need full output. An undersized rail, on the other hand, can't be "pushed" beyond its maximum output. That's why at borderline values (for example a bathroom exactly on the boundary between 6 and 7 m²) we recommend going for the higher output tier.
Dimensions, placement and safe clearances during installation
The second practical decision is exactly where and at what size you'll place the rail. A common mistake we see in the renovation of older flats is trying to replace the original radiator with a rail of the same width, regardless of whether the design fits between the bath and the door, or whether enough manoeuvring space remains. The recommended procedure when planning the installation looks like this:
Several proven principles apply to the actual placement. The lower edge of the rail should be at least 15 cm above the floor, so the floor is easy to clean and to avoid contact with water in case of a larger spill. A clearance of at least 15 to 20 cm from the edge of the bath or shower tray is recommended, both for safety reasons (electric rails close to water must meet a stricter IP protection rating and the installation often requires a residual current device) and for comfort of use. The side clearance from the wall or corner should be at least 5 cm, so a towel can be folded over the full width of the rail's rung without rubbing against the wall.
The mounting height of the rail's centre is typically around 120 to 140 cm above the floor - high enough for towels to be hung comfortably even by taller household members, yet not so high that the lower part of the unit stops contributing to heating at body level. When combined with an electric rod, it's also important to think about where the electrical socket or outlet is located - in wet areas of a bathroom (zone 2 and beyond according to the standard), the socket or fixed supply must be placed at the prescribed distance from the water source, which is something that should always be assessed on site by an electrician.
Surface finish - white, chrome or coloured
The third decision, which surprisingly has a big impact on long-term satisfaction, is the surface finish. On the market you'll most commonly come across three variants - white lacquered surface, chrome-plated surface, and coloured versions in RAL shades. Each has its place and doesn't suit every bathroom equally.
White is universal, optically enlarges the space, and suits almost any tiling style. From a maintenance point of view it's undemanding, but with lower-quality lacquering it can gradually lose its shine over time from contact with wet coloured textiles (for example dark towels) - so it's worth choosing established manufacturers with a quality powder coating. Chrome plating looks more modern and glossy, handles humidity very well, and is resistant to mechanical wear; its disadvantage is that water marks and fingerprints show more visibly on it, so it needs to be wiped with a cloth a bit more often. RAL coloured versions (for example anthracite, black or bolder colours) are popular today in more modern bathrooms with darker tiling, and are usually somewhat more expensive than white or standard chrome, since they're typically made to order or in smaller batches.
The following overview sums up these three variants in terms of price, maintenance requirements and durability in everyday bathroom use, as described above:
A more detailed comparison, including specific types of lacquering and recommendations for wellness or public facilities (where durability requirements are even higher), can be found in the article Comparison of heated towel rail surface finishes.
How much a heated towel rail costs and what affects the price
The prices of mid-range heated towel rails for a flat bathroom in our range run from roughly 90 to 120 euros for the unit itself; for simpler electric accessories (for example a standalone heating rod with thermostat without a rail) the price is lower, roughly 50 to 60 euros. However, the overall installation price should also factor in mounting materials (brackets, possibly a new electrical socket or outlet) and the work of an electrician or plumber, if you're not doing the installation yourself.
The price of the unit itself is mainly affected by its width and height (and hence the total heating surface), the shape of the rung profile (straight tubes versus shaped "S", "U" or "W" profiles, which have a larger surface area and therefore a somewhat higher output for the same external dimensions), and the connection method - a combined rail is generally more expensive than a purely water-fed one, since it additionally contains an electric heating insert and a thermostat.
The following chart compares the current prices of five specific models we have in stock, which we'll also cover in more detail further in this article:
Recommended models on atria.sk
To help you find your way around our range, we've picked five specific products from our Heated Towel Rails category that cover different situations - from a completely basic flat bathroom to topping up an existing water-fed radiator with an electric rod.
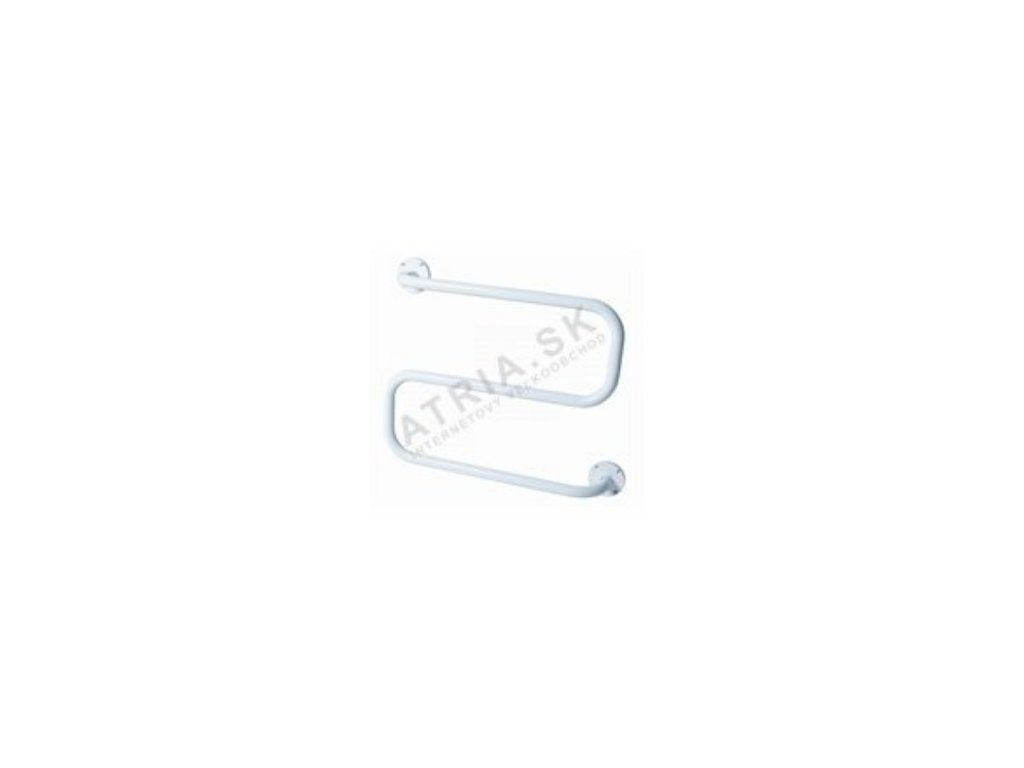 |
DEVIrail S White - a classic straight rung profile in a white lacquered finish, ideal for an average flat bathroom where you want a universal look that suits most tiling and a reasonable price. Price from EUR 94.91. |
 |
DEVIrail S Chrome - the same proven straight profile as the previous model, just in a glossy chrome-plated finish - suitable if you have chrome fittings and accessories in the bathroom and want a unified look. Price from EUR 99.81. |
 |
DEVIrail U White - a shaped "U" rung profile that offers a somewhat larger heating surface for similar external dimensions, so it's suitable for rooms that need a bit more output while keeping a compact width. Price from EUR 90.02. |
 |
DEVIrail W White - the boldest designer "W" rung profile in this line, looking more modern while also offering the largest heating surface among the compared models - a suitable choice for a larger or more representative bathroom. Price from EUR 115.46. |
 |
Electric rod with thermostat, 150 W - white - a standalone electric heating rod with its own thermostat, which lets you add combined operation to an existing water-fed rail without having to replace the whole unit - a practical solution if you already have a working water-fed rail at home but want to be able to use it outside the heating season too. Price from EUR 54.87. |
Installation - what to watch out for
Fitting the rail to the wall itself (brackets, anchoring into masonry or a partition wall) is mostly manageable yourself, if you have basic skill with a drill and a spirit level - the important thing is simply to keep the clearances mentioned above and check that the wall can bear the weight of the filled unit (for a water-fed rail also allow for the weight of the water inside it). Connecting to the water circuit (linking into the hot water pipework from the boiler) already requires a plumber experienced with pressure testing, to avoid later leaks at the joints. The electrical connection, especially a fixed outlet near water, must meet the relevant safety standards, which in practice means wiring through a separate residual current device.
A common mistake we see in the field is underestimating the sealing of the tiling where the brackets pass through the ceramic tiles - if the hole is slightly damaged during anchoring or isn't sealed properly, moisture can eventually get behind the tiles. That's why we always recommend sealing the edge of the hole around the bracket with sanitary silicone after drilling into the tiling. A detailed step-by-step installation guide, including the tools needed, can be found in the separate article Installing a heated towel rail.
Operation outside the heating season
One of the most common questions we get from customers is what to do with the rail in summer, when the boiler is off. With a purely water-fed rail without an electric insert, the unit simply doesn't heat during this period - if you need to dry towels outside the season too, the solution is precisely adding an electric heating rod (like the model mentioned above) or choosing a combined rail from the start. For electric and combined rails with a thermostat, it's a good idea to lower the set temperature outside the season to the minimum needed just to finish drying textiles, which significantly saves electricity compared to year-round operation at full output.
Equally important is regular checking when seasonally shutting down the water circuit - if the boiler is fully shut down and drained for summer, you also need to think about the rail connected to that circuit, to avoid residual water freezing during colder in-between periods (for example in mountain areas or unoccupied cottages). More practical tips on year-round operation can be found in the article How to operate a heated towel rail outside the season.
Frequently asked questions
What rail output do I need for an average flat bathroom with a bath?
For a flat bathroom with a bath measuring 7 to 8 m², we recommend an approximate output of around 750 W, if the rail is to serve only as a supplementary heat source alongside the flat's main heating. If it's to be the sole heat source in the room, allow for an increase of roughly a third.
Is a water-fed or electric rail better?
It depends on how you use the bathroom. If you need to dry towels all year round regardless of the heating season, an electric or combined rail is more practical. If the bathroom is used only during the heating season (for example a cottage) or there's no electrical connection, a purely water-fed rail is the simpler and cheaper solution.
Can I add an electric rod to an existing water-fed rail later?
Yes, this is exactly the purpose of standalone electric heating rods with a thermostat, which are fitted into an existing water-fed rail in place of one of the side plugs. It's a common and proven way to get combined operation without replacing the whole unit.
At what height and distance from the bath is the rail installed?
The centre of the unit is typically mounted at a height of around 120 to 140 cm above the floor, the lower edge at least 15 cm above the floor, and a clearance of at least 15 to 20 cm from the edge of the bath or shower tray is recommended for both safety and practical reasons.
What's the difference between the white and chrome finish besides appearance?
Functionally the difference is small - both surfaces, when well made, handle the humid bathroom environment well. Chrome is more sensitive to visible fingerprints and water marks, so it needs a bit more frequent wiping, while a white lacquered finish is less demanding in this respect.
Can a rail be used as the sole heat source in a small bathroom?
Yes, this is common practice in small bathrooms up to 4 m², you just need to allow for a higher output than if it were supplementary heating - we recommend having the calculation assessed based on the room's real heat losses, especially if it's a corner room with multiple external walls.
Related topics
- Electric, water-fed or combined heated towel rail
- What output of heated towel rail do I need
- Comparison of heated towel rail surface finishes
- Installing a heated towel rail
- Heated towel rails
Have a question on this topic?
Can't decide, or dealing with a specific situation in your home? Write to us - we're happy to advise.