
Installing a towel radiator
Installing a towel radiator – complete step-by-step procedure
A towel radiator (sometimes also called a bathroom radiator or towel dryer) is one of those items whose installation often gets underestimated. It looks simple - a couple of holes in the wall, hang it up, connect it. In practice, though, this is exactly the type of radiator where we see the highest number of complaints caused by incorrect installation, not a fault in the product itself. The radiator hangs on anchors right into the tiling, weighs several kilograms extra with water inside, and during operation it experiences changes in both pressure and temperature - which is why installation deserves the same care as installing a boiler.
In this article we go through the whole process from preparation to the first start-up, explain the differences between wall types and anchoring methods, show recommended mounting heights, and flag the mistakes we see repeated in both DIY installations and jobs done by less experienced fitters. The text is aimed at both an ordinary homeowner and a small installation company dealing with a bathroom for the first time.
What types of towel radiators we install
Before going into the procedure itself, it's important to distinguish three basic variants, since the installation differs in the details:
- Water (connected to central heating or a boiler) - connects to the existing hot water supply, needs two connection points (supply and return) and usually an air vent valve too.
- Electric (with a heating rod or element) - independent of the heating system, just needs a nearby electric socket; the radiator body is filled with heat-transfer liquid at the factory and sealed.
- Combined - has both systems at once, running on central heating in winter and switching to the electric rod outside the heating season.
The support structure (frame, brackets, spacing between mounting points) is practically identical across all three types - it's only the last step, connecting to the heat source, that differs. So most of this guide applies regardless of which type of radiator you're installing, and we'll explain the differences separately where they come up.
Tools and materials you'll need
Prepare a complete set before starting - having to interrupt installation for a missing tool is the most common reason holes end up being drilled hastily and inaccurately. You'll need:
- A spirit level (ideally a longer one, 60 cm or more, or a laser level for larger radiators)
- A hammer drill and suitable bits for your wall material (brick, concrete, tiling)
- A diamond-coated or carbide-tipped bit for tiling, if drilling directly through a tile
- Anchoring material matching the wall type (more below)
- A tape measure, pencil, and possibly a template for marking the holes (most manufacturers include one in the packaging)
- Spanners for plumbing joints (for water or combined types), PTFE tape or hemp sealing thread
- A test pressure gauge, or at least a visual leak check after filling
- Safety glasses and a mask when drilling into tiling - fine glass/glaze dust is produced
Step by step - installation procedure
The following diagram summarises the six main installation steps in the order we recommend carrying them out. Each step is covered in more detail below the diagram.
1. Preparation and measuring
First measure your radiator's actual dimensions from the manufacturer's documentation - the spacing between mounting points (the centre distance) varies between models even when they look similar from outside. Mark the centre of the future radiator on the wall, both vertically and horizontally, then transfer the specific fixing points using the template. Most manufacturers (including the DEVIrail radiators we recommend below) include a paper or card installation template in the box - using it will save you the most time and mistakes, since it eliminates measuring errors.
At this stage also decide on the mounting height. Recommended practice, which we see working well in the vast majority of bathrooms:
- The bottom edge of the radiator at a height of roughly 200 - 300 mm above the floor - the reason is practical, at this height it's easy to mop under the radiator and it also doesn't interfere with most floor coverings, including underfloor heating.
- The top edge at least 100 mm below a windowsill, if the radiator is fitted under a window.
- A minimum distance of 150 mm from the edge of a washbasin or bathtub, to avoid water splashing directly onto the body and causing unnecessary corrosion at the joints.
- The centre (axis) of the radiator is usually placed in the middle of the free wall, or symmetrically with the washbasin if mounted next to it.
These dimensions are shown in the following diagram.
2. Drilling the holes
The type of bit and drilling method depend on the material you're anchoring into. If drilling directly through tiling, always start at a slow speed without hammer action until the bit is through the glaze - only switch on the hammer function once you're into the base masonry, otherwise the tile will crack. We recommend sticking a piece of masking tape over the drilling spot - the bit won't skid on the smooth surface and won't scratch the surrounding area.
The hole depth must match the length of the anchor sleeve plus a 5 - 10 mm allowance for dust settling. Always blow out or vacuum the hole after drilling - leftover dust in the hole significantly reduces the anchor's load capacity, because it can't expand properly against the hole wall.
3. Fitting the anchors according to wall type
This is the step where most later problems originate - after a few months the radiator starts tilting away from the wall, or in the worse case falls out along with a piece of tile. The load capacity of anchoring material varies up to sixfold between wall types. Approximate values we typically work with when planning towel radiator anchoring (load capacity per mounting point, pull perpendicular to the wall):
- Solid brick / solid masonry: an ordinary metal expansion anchor holds around 50 kg per point - for a towel radiator with water inside (usually 8 - 20 kg total weight) that's a safe margin even with four mounting points.
- Aerated concrete (e.g. Ytong): special aerated-concrete anchors are needed (longer, with a larger thread) - load capacity around 25 kg per point; a standard brick expansion anchor sinks into aerated concrete and doesn't hold.
- Plasterboard, ordinary plastic wall plug: only around 8 kg per point - insufficient for a towel radiator, we never recommend this type of anchoring.
- Plasterboard, metal toggle (butterfly) anchor or chemical anchor: around 20 kg per point, which is enough across four points, but in this case we recommend also adding cross bracing behind the plasterboard when building the partition, if that's still possible, or fitting the radiator to a separate support bracket anchored into the load-bearing structure behind the plasterboard.
The comparison of load capacity between anchoring types is clearer on the chart:
When anchoring into tiling we also recommend one more practical trick from the field - always place a plastic or rubber washer under the screw head. This prevents microscopic cracking of the glaze when tightening and also spreads the pressure better across the surrounding surface.
4. Hanging the radiator
The radiator is hung on the fitted brackets or hooks; on most models (including the DEVIrail line) the body is first tilted into the top fixing point and then lowered onto the bottom points - not the other way round. After hanging, check horizontal and vertical alignment again with a spirit level, since even a slight tilt is very visible on polished chrome or a white matte finish and looks unprofessional. If the model has adjustable brackets (offset from the wall), tighten them evenly on both sides so the body doesn't end up skewed.
5. Connecting to the supply
Here the procedure splits depending on the radiator type:
Water radiator: connects to the supply and return of the central heating, usually via angle valves with the option to shut off (so the radiator can be disconnected in future without draining the whole system). Always seal the joints with PTFE tape or hemp thread with sealing paste, never tighten dry. If the radiator is fitted with a side connection (left/right), check when ordering and installing that the connection direction matches the position of the pipework in the wall - mixing up the side is a common mistake that can easily be avoided with a simple check before drilling.
Electric radiator: needs the nearest socket (ideally in a safe zone out of reach of water - stricter rules apply to socket placement in bathrooms based on distance from the bath/shower) or a fixed connection via a junction box, if local regulations require a fixed connection in that zone. The heating rod is usually bought separately and screwed into the prepared thread on the radiator body - make sure the sealing ring is properly tightened so heat-transfer liquid doesn't leak around the thread.
Combined radiator: combines both steps above - it's first connected to the water circuit, then the electric rod is fitted into a separate outlet on the radiator body, which is part of the construction on combined models.
Recommended products for installation
When choosing a specific model, it's worth considering not just the design but also the connection method and surface finish relative to your bathroom type. Below are three models that in practice are among the most commonly installed from our range, plus an electric rod that can be added to both water and combined units.
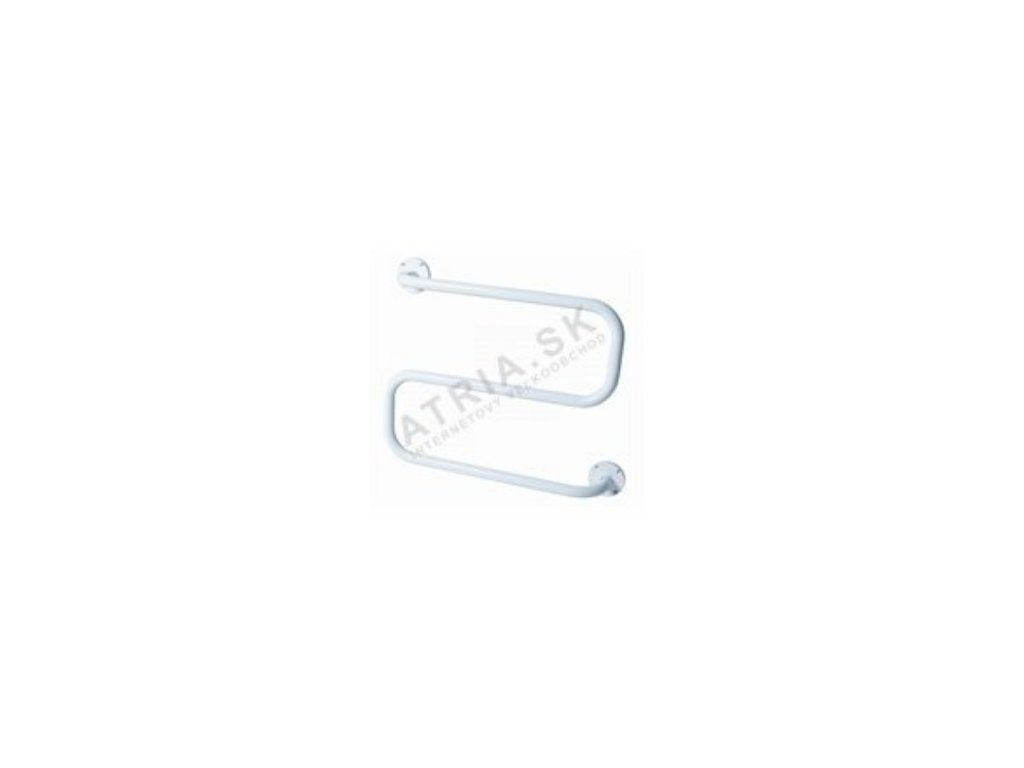 |
DEVIrail S White - a compact model with simple straight construction that fits exactly the installation procedure described above (standard four mounting points, a classic white matte finish resistant to wear). Suitable for smaller bathrooms, where minimum distances from the washbasin and bathtub need to be kept. Price from €94.91. |
 |
DEVIrail S Chrome - the same construction as the white variant, but with a polished chrome finish, where being level after installation is especially important, since a shiny surface reveals even a minimal tilt. We recommend using a longer spirit level during installation and double-checking before the final tightening of the brackets. Price from €99.81. |
 |
DEVIrail U White - a shaped model with a rounder rung construction, popular where the radiator is a visible design element of the bathroom. Installation follows the same procedure as the S model, with the difference that because of the shape, we recommend using the supplied template unmodified when marking the holes - any deviation from freehand measuring shows up more on a shaped construction. Price from €90.02. |
Bleeding air and leak testing
The last, but often skipped, step. After connecting to the supply (for both water and combined types), the radiator needs to be properly bled - air trapped in the top of the body causes the radiator to heat only partially, typically leaving the top third cold while the bottom part is hot. The air vent valve is opened slowly until a continuous stream of water without air bubbles starts flowing, then closed immediately.
After filling, leave the system under pressure for at least 15 - 20 minutes and visually check all joints, especially the valve connections and the point where the electric rod is screwed in, for combined types. A slight dampness at the thread signals an under-tightened joint - never tighten a joint under pressure, drain the system first. Only once you've confirmed no joint is leaking even after several hours of operation can you consider the installation complete.
The most common mistakes in DIY installation
From experience, we know a few specific mistakes recur more often than others:
- Using an ordinary plastic plasterboard wall plug instead of a metal toggle anchor or chemical anchor - as shown in the chart above, the difference in load capacity is more than double, and for plasterboard it's the only type of anchoring we actually recommend for a towel radiator.
- Skipping the level check after final tightening - brackets can rotate slightly while being tightened, so check with the spirit level after final tightening, not only before it.
- Mounting height too low, causing a collision with the floor trim or the shower cubicle door when opening.
- Mixing up the connection side on water types, when a radiator is ordered with the connection on the opposite side to the actual supply pipework in the wall.
- Tightening threaded joints without sealing tape or paste - even a slightly leaking joint eventually shows up as dampness around the tiling.
- Skipping the bleeding step after the first fill, leading to the mistaken impression that the radiator "isn't heating enough", when it's really just air in the body.
When to leave installation to a professional
For a water or combined radiator connecting to an existing central heating supply, we recommend leaving the connection to the supply (i.e. tapping into the pipework, fitting the valves and the pressure test) to a heating engineer or plumber - an incorrect connection can flood the bathroom if a joint bursts under pressure. Anchoring to the wall alone (steps 1 - 4) can be handled by a capable DIYer, since it isn't a pressurised system. For plasterboard partitions, we additionally recommend checking with whoever built the partition whether there's reinforcement or a support grid fitted behind the plasterboard at that spot - if there is, anchoring is significantly simpler and safer.
An electric heating rod as an add-on
For both water and combined radiators, it's worth considering adding a separate electric heating rod with a thermostat - it lets you run the radiator outside the heating season too, when the boiler is shut down, which is practical especially in transitional months, when it's cold outside but the heating season hasn't officially started yet, or has already ended.
 |
Electric heating element with thermostat, 150 W - white - a suitable add-on for the water and combined radiators listed above, enabling independent operation outside the heating season. The built-in thermostat prevents the body from overheating even if it's accidentally left switched on for a long time. Installation is a simple matter of screwing it into the prepared thread on the radiator body. Price from €54.87. |
For an easier overview of the price ranges of the models listed, here is a comparison chart:
As you can see, the price spread between the individual towel radiator models isn't extreme - the construction shape and surface finish (chrome vs. white matte) matter more than output or load capacity. The electric rod is the cheapest item on the list, which makes it a sensible add-on for almost every installation.
Summary of the procedure
Installing a towel radiator can be handled as a DIY job as long as you follow three basic principles: correctly assess the wall type and choose matching anchoring material, thoroughly check level before and after tightening, and leave the connection to the water supply to an experienced plumber unless you're confident about the pressure test. From an ordinary user's point of view, the electric type is simpler to install, since there's no risk of a leak from a pressurised system, but you still need to ensure safe placement of the socket or fixed supply given the bathroom's damp environment.
Frequently asked questions
Can I hang a towel radiator myself without a plumber?
Anchoring to the wall alone, yes - it's the same procedure as hanging a shelf, just with higher demands on the anchoring material's load capacity. We recommend leaving the connection to the central heating water supply (including the pressure test) to a professional, since a mistake in this part can flood the bathroom. You can connect the electric type yourself, all you need is a socket or fixed supply in a safe zone.
What kind of wall plug is suitable for a plasterboard partition?
An ordinary plastic expansion plug isn't enough (it holds around 8 kg per point). Use a metal toggle (butterfly) anchor or a chemical anchor with a load capacity of around 20 kg per point, ideally combined with reinforcement or a support grid behind the plasterboard, if one is fitted at that spot in the partition.
At what height should a towel radiator be installed?
Common practice is a bottom edge at 200 - 300 mm above the floor, a top edge at least 100 mm below any windowsill, and at least 150 mm from the edge of a washbasin or bathtub. The exact height is adjusted to the ceiling height and the layout of other elements in the bathroom.
Why does the radiator only heat partially after filling?
The most common cause is air trapped in the top of the body after the first fill. The solution is to slowly open the air vent valve until a continuous stream of water without bubbles starts flowing.
Can an electric rod be fitted to a water radiator afterwards?
Yes, as long as the radiator has a separate thread already prepared on the body (typical for combined versions, some water models also have this thread from the factory as a reserve). If the thread is missing, fitting one afterwards requires working on the body, which we don't recommend without professional assessment.
How often should the joints be checked for leaks after installation?
Check the joints within 24 hours of the first fill under pressure, right after installation. After that, a routine visual check at the start of each heating season, i.e. once in autumn before the heating season starts, is enough.
Related topics
- How to choose a towel radiator for the bathroom
- Electric, water or combined towel radiator
- What output does my towel radiator need
- Most common towel radiator faults
You'll find the full range in the main category: Towel radiators
Have a question on this topic?
Can't decide, or dealing with a specific situation in your home? Write to us - we're happy to help.