
How to Choose a Heating Resistance Cable
Why choosing a resistance cable isn't just about price per meter
A heating resistance cable is one of those products where it pays to spend time on selection before ordering, not after. Unlike a radiator or a boiler, which can be swapped fairly easily if you get it wrong, a resistance cable is in the vast majority of cases embedded in a screed, glued under tiles, or fixed to a roof and gutter system. When it turns out the output doesn't match, the cable is too short for the area, or unnecessarily oversized, fixing it means breaking up the floor or removing it from the roof in the middle of winter. That's exactly why it makes sense to break the whole selection process down into individual steps - type of application, required output, cable type, control method and safety features - and only then reach for a specific product.
This article is based on the common questions we deal with from customers when choosing a cable for the three most frequent applications: underfloor heating (as the main or as a supplementary heat source), de-icing exterior surfaces (pavements, terraces, driveways), and protecting roofs and gutter systems from ice formation. Each of these applications has completely different requirements for output, cable type and control, and mixing up recommendations between them is the most common source of disappointment after installation.
Basic types of resistance cables
Single-conductor cable
A single-conductor resistance cable has one conducting element and must be wired so that both its ends return to the junction box - meaning that when laying it on a surface, you must plan for the "start" and "end" of the cable to be next to each other. This is generally the cheaper option and is especially suitable where the floor plan is regular and simple (for example a rectangular bathroom). The downside is somewhat more complex layout planning, because the installer must plan the route there and back from the start.
Two-conductor cable
A two-conductor cable has a cold lead-in end on one side and a heating section that doesn't need to return to the junction box - it just needs to be terminated where the laying ends. This significantly simplifies installation in irregularly shaped rooms, around corners, bathtubs, or when laying into several separate "tongues". The price per meter tends to be somewhat higher, but the savings in labor and lower risk of a laying error outweigh this in many cases.
Constant-wattage cable
This is a classic resistance cable that delivers the same output per meter along its entire length (for example 10, 17 or 20 W/m) regardless of ambient temperature. It's used mainly for underfloor heating, where even heat distribution across the whole area is needed according to a pre-calculated cable length for the given room.
Self-regulating cable
A self-regulating cable can change its output locally depending on the temperature at a given point - where it's colder, it emits more heat, where it's warmer (for example under insulation or snow cover), it automatically reduces output. Thanks to this, it can be cut to the required length directly on site (within the permitted limits for the given type) and there's no risk of local overheating when covered. It's typically used for de-icing roofs, gutters and pipes, where the length and shape of the route are hard to calculate precisely to the last decimeter and where partial coverage by snow or insulation can occur.
Step 1: Precisely define the application
Before you start comparing outputs and prices, answer one question: what exactly do you need the cable for? In practice we most often encounter four scenarios, and each has completely different selection logic.
Underfloor heating as the main heat source - the room has no other heating element (radiator, convector) and the cable must cover the entire heat loss of the room. Here the highest output per area is needed, usually in the range of 100 to 150 W/m², depending on the heat losses of the given room, the type of floor covering and ceiling height.
Underfloor heating as a supplementary source (comfort floor warming) - a typical case is a bathroom or hallway, where the main heat source (for example a radiator) remains, and the cable's job is just to remove the unpleasant feeling of cold tiles. A significantly lower output is sufficient here, usually 60 to 100 W/m².
De-icing exterior surfaces - terraces, pavements, garage driveways, stairs. Here higher outputs are needed than for interior heating, because the cable must overcome heat loss to the outdoor environment while melting snow and ice at the same time. Typical values range between 200 and 300 W/m², and even higher in exposed locations (north-facing side, frequent load).
Protecting roofs and gutters against ice formation - here the output isn't given per m², but per running meter of cable, because the cable is laid in gutters, downpipes and along roof edges in a line, not across an area. Common self-regulating cables for this application have an output of approximately 28 to 40 W/m at the given reference temperature.
Below is a summary of area outputs for the three interior/exterior scenarios mentioned above - we deliberately use the midpoints from the ranges given, so you can see the relative ratio between applications.
Step 2: Calculate the actual cable length for the given area
Once you know the target output per m², you need to convert it into a specific product - that is, into a combination of "cable output per running meter" x "cable length" so that the resulting total matches the area and the chosen output per m². The formula is simple: required cable length (m) = (area in m² × required output per m²) / cable output per running meter.
Let's take three real room examples that we encounter most often in practice - a small 4 m² bathroom, a typical 12 m² bathroom or hallway, and a 20 m² living room with underfloor heating as the main source. For bathrooms we count on a supplementary output of 80 W/m² and a cable with an output of 10 W/m, for the living room with a main source, 130 W/m² and a 17 W/m cable (a cable with higher output per meter is laid more densely on larger areas and at higher required output, so the resulting run is shorter for the same total output).
For a 4 m² bathroom: (4 × 80) / 10 = 32 meters of cable. For a 12 m² room: (12 × 80) / 10 = 96 meters of cable. For a 20 m² living room as the main source: (20 × 130) / 17 = approximately 153 meters of cable. Carry these numbers over to the comparison below, which shows how quickly the required cable length grows with the size and purpose of the room.
Notice that the living room with a main heat source needs almost five times more cable than the small bathroom with supplementary heating, even though it has only five times the area - this is because along with the larger area it also has a higher required output per m². That's exactly why it pays to always calculate cable length for the specific room, not estimate based on a "similar" space at a friend's place - differences in heat losses, type of floor covering (tiles conduct heat better than wood or laminate) and room orientation can shift this value by tens of percent.
Step 3: Decide between single-conductor, two-conductor and self-regulating types
For underfloor heating in regular rooms (rectangular bathrooms, hallways), a single-conductor cable with constant output is the most economical choice - lower price per meter and simple layout planning in regular loops. For irregular floor plans, rooms with multiple alcoves, or where the cable needs to run around a bathtub or kitchen counter, it pays to spend more on a two-conductor cable - you'll save on complicated route return and reduce the risk of a laying error.
For exterior applications (de-icing roofs, gutters, pipes) the situation is different - here we almost always recommend a self-regulating cable, because it can respond to uneven coverage by snow or ice without risk of local overheating, and it can be cut on site to the actual length of the gutter or downpipe, which significantly simplifies installation on non-standard roof structures.
The following diagram summarizes the decision process we use when advising customers - from application, through cable type, to output and control.
Step 4: Don't forget the control system
The cable alone, without a thermostat with a floor sensor and optionally also a room sensor, doesn't make sense - without control it either heats unnecessarily (and you pay for electricity you don't need), or you risk overheating the floor covering, which for glued tiles or laminate flooring can cause permanent damage. For underfloor heating we recommend a thermostat with a floor sensor as a minimum, ideally with the option to limit the maximum floor temperature (typically set around 27 to 29 °C in occupied spaces, to avoid the unpleasant feeling of a "hot floor" and unnecessary wear on the covering).
For de-icing exterior surfaces and roofs, instead of a simple thermostat, a combination of a temperature and moisture (snow) sensor is commonly used - the cable turns on only when the temperature drops below a set threshold (for example 3 °C) and the sensor simultaneously detects moisture or precipitation. Without this combination, the cable would run unnecessarily even during dry, frosty days with no snow, which at outputs of 250 to 300 W/m² means a noticeable item on the electricity bill.
Step 5: Safety and circuit protection
From an electrical installation standpoint, resistance heating cables are a full-fledged appliance connected directly to the mains, typically for longer operating periods than ordinary socket loads. That's why it's essential to:
- Use a separate circuit breaker sized to the cable's output (not shared with other appliances in the room).
- Connect the circuit through a residual current device (RCD) with a tripping current of 30 mA, which protects against electric shock in the event of cable insulation damage.
- For underfloor heating, have an exact drawing of the cable layout made and photographed before pouring the screed - in the event of future drilling into the floor (for example when installing furniture), this documentation is the only way to avoid drilling through the cable.
- Before pouring the screed, measure and record the cable's resistance (both insulation and conductive) and compare it with the value stated by the manufacturer - a significant deviation signals cable damage already at installation, when it can still be dealt with without demolition.
- For exterior cables, check that they are certified for outdoor use (UV resistance, resistance to moisture and mechanical load), not just for indoor use.
These steps sound like paperwork, but in practice they're exactly what decides between 15-20 years of trouble-free operation and a warranty claim after the first winter.
Materials and durability - what to watch for in exterior applications
While for interior underfloor heating the main variables are output and laying method, for outdoor applications (roofs, gutters, terraces, driveways) another dimension is added - the resistance of the cable jacket material to UV radiation, mechanical stress (walking, snow shoveling, movement of the roof covering with temperature changes) and moisture. A cable intended for indoor use, even though it has the same electrical output, generally doesn't have a jacket resistant to long-term exposure to sun and weather - after a few seasons it can become brittle and crack, leading to moisture ingress and failure.
When choosing an exterior cable, always verify that the product is explicitly intended and certified for outdoor use (stated in the technical datasheet, not just inferred from the fact that "it can also be bought for this purpose"). Proper anchoring of the cable in the gutter and on the roof is equally important - mounting clips and straps designed specifically for the given cable type, not an improvised solution with straps from a hardware store, which degrade over time from UV radiation and let the cable loosen or shift out of its optimal route.
Comparison of the three main cable types
To have the whole selection in one place, here is a summary of the three most common cable types according to the criteria covered above - typical application, wiring method and main advantage.
Installation - what we do well and where the most common mistakes happen
For underfloor heating, the most common mistake is an incorrect spacing between individual cable loops - too wide a spacing leads to uneven heat distribution (stripes of warm and cold tiles next to each other), too narrow a spacing leads to local overheating. Manufacturers usually state the recommended spacing directly depending on the cable's output per meter and the required output per m² - it's worth having this figure printed out right at installation, not just relying on memory.
The second common mistake is laying the cable too close to walls or furniture that will be permanently anchored to the floor (built-in cabinets, bathtubs on a fixed base) - in such places the cable is either not laid at all, or a sufficient margin is left to avoid future drilling through it when anchoring furniture.
For exterior applications, the most common problem is underestimating the cable length in downpipes - many investors only address the gutter itself, but without a heated downpipe, the melted water in it refreezes and forms a blockage, causing the gutter to overflow the next time it thaws. The cable should be run continuously through the whole system - the gutter and the downpipe right down to a safe outlet, not just the most visible part of the roof.
Electricity consumption - what to realistically prepare for
For a main heat source with an output of 130 W/m² and an area of 20 m², we're talking about an installed output of approximately 2.6 kW (20 × 130 W). Actual electricity consumption is of course lower than the installed output, because the thermostat cyclically switches the cable on and off according to the set temperature - in practice, for a well-regulated system and a typical heating season, the actual load (the so-called duty cycle) ranges between 30 and 60% of the installed output, depending on outdoor temperature, the room's heat losses and the target floor temperature set.
For exterior de-icing the situation is different - the cable only runs during frosty and precipitation weather, so annual consumption depends on the length and intensity of winter in the given location, not on continuous operation. That's exactly why the combination of a temperature and precipitation sensor (mentioned above) is so important - without it, the cable can run unnecessarily even during dry frosts, when there's nothing to de-ice.
Connection to other electric heating solutions in the household
A resistance cable addresses floor heating or exterior protection, but in many households, hot water heating is also handled at the same time, working on a similar principle of an electric resistance heating element. If you're currently dealing with underfloor heating and at the same time need to add or replace a storage water heater (for example in a cottage, a studio apartment, or as a backup to an existing boiler), it's also worth looking at this type of product from the same category of electric resistance heating:
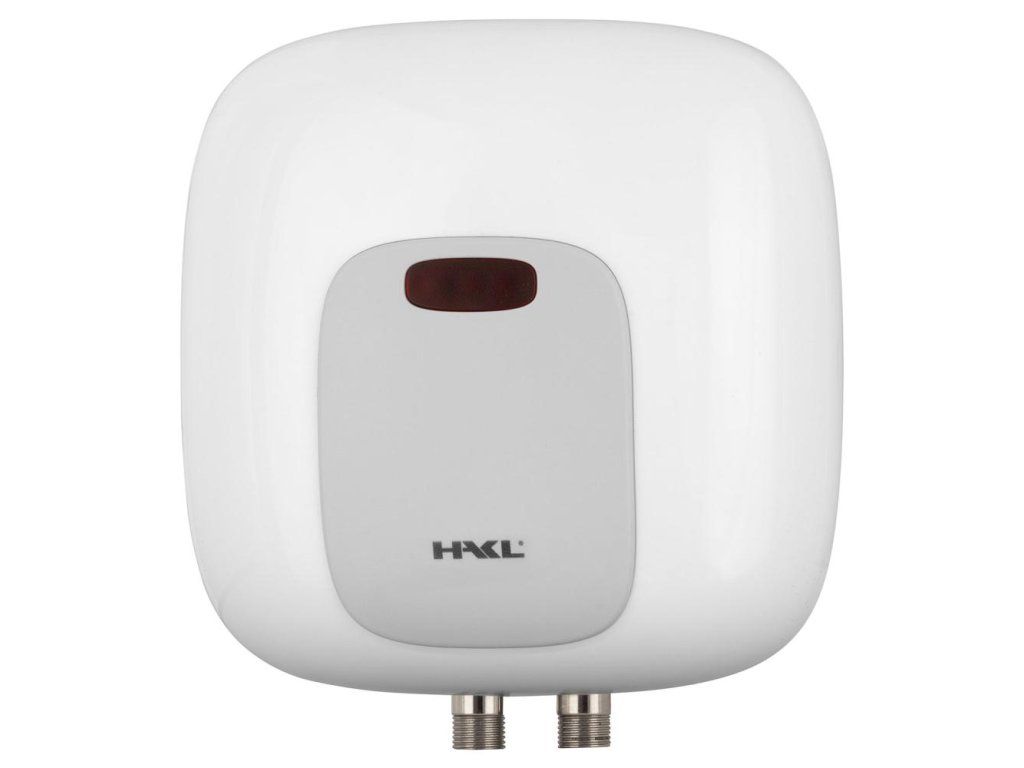 |
HAKL PL 3.5kW water heater - a compact instant water heater suitable, for example, for smaller bathrooms or a kitchenette, where you're also dealing with underfloor heating using a supplementary resistance cable. The 3.5 kW output covers the typical consumption of one draw-off point. Price from €95.94. |
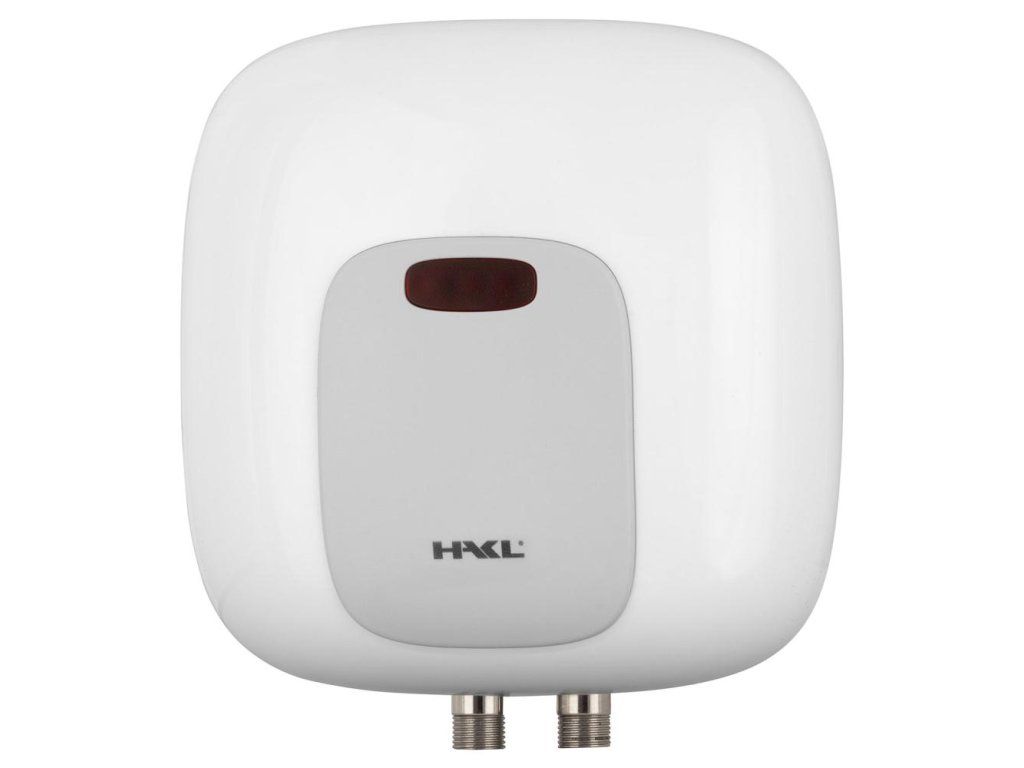 |
HAKL PL 4.5kW water heater - a somewhat more powerful variant suitable where, besides underfloor heating, you also need simultaneous hot water draw-off at two points (for example a kitchen and a bathroom). The same resistance heating element principle as with cables, just in a different application. Price from €95.94. |
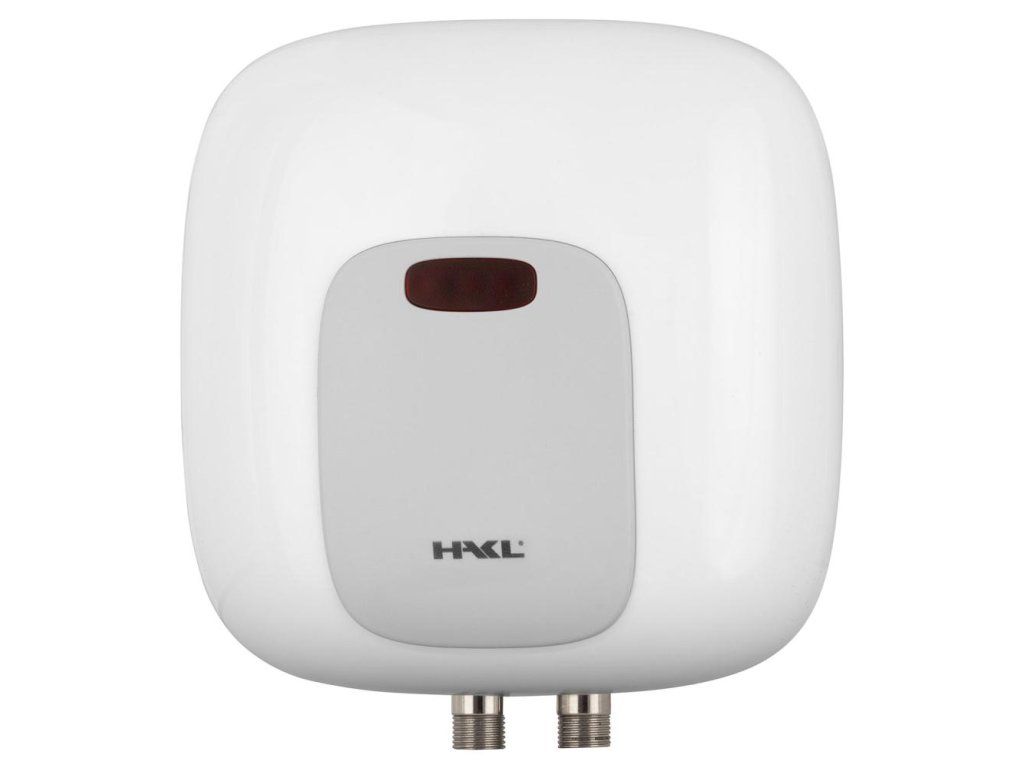 |
HAKL PL 5.5kW water heater - the most powerful of the three, suitable for a cottage or a smaller flat, where you're planning to combine underfloor heating with continuous water heating without waiting for a storage tank. Price from €95.94. |
These products aren't a replacement for a resistance heating cable, or vice versa - they're two different applications of electric resistance heating (floor/exterior vs. water heating) that are, however, commonly addressed within the same bathroom or cottage renovation project, which is why we're including them as a practical addition to the topic.
Summary - how to proceed step by step
1. Determine the exact application (floor as the main or supplementary source, exterior de-icing, roof protection) - everything else follows from this.
2. Calculate the required output per m² according to the application (60-100 W/m² supplementary, 100-150 W/m² as the main source, 200-300 W/m² for exterior de-icing, 28-40 W/m for roof and gutter cables).
3. Calculate the required cable length using the formula area × output per m² / cable output per meter.
4. Choose the cable type - single-conductor for regular floor plans, two-conductor for irregular ones, self-regulating for exterior use.
5. Add the appropriate control - a thermostat with a floor sensor indoors, a combination of temperature and precipitation sensors outdoors.
6. Ensure proper circuit protection (separate breaker, 30 mA RCD) and documentation of the cable layout before pouring the screed.
If, after reading through this process, you're still not sure which specific type and length of cable you need for your room or roof, it's best to send us the exact dimensions and purpose - we can go through the calculation together and recommend a specific product, instead of you guessing and risking an oversized or undersized system.
Frequently asked questions
Can I use a self-regulating cable for underfloor heating instead of a constant-wattage cable?
Technically yes, but it usually doesn't make economic sense - self-regulating cables are more expensive per meter, and their main advantage (local output adjustment) barely shows up on a floor evenly embedded in screed, because conditions are similar across the whole area. For underfloor heating, therefore, in the vast majority of cases it pays to stick with a constant-wattage cable.
Can a resistance cable be shortened or extended after purchase?
A constant-wattage cable (both single-conductor and two-conductor) generally CANNOT be shortened or extended arbitrarily - the length is fixed by the manufacturer and corresponds exactly to a defined resistance and output. A self-regulating cable, on the other hand, can be cut to the required length directly on site during installation, within the minimum and maximum limits stated by the manufacturer for the given type.
How long does a resistance cable last once embedded in the floor?
With correct installation (spacing observed, functional layout documentation, proper circuit protection) and a quality product, the typical service life is 15 to 25 years, comparable to the lifespan of the floor covering itself. The most common cause of premature failure isn't wear of the cable itself, but mechanical damage during subsequent construction work (drilling, anchoring furniture) without knowledge of the exact cable route.
Do I need an electrician for installation, or can I do it myself?
Laying the cable itself into the screed or fixing it to the roof can be handled by a skilled DIYer following the manufacturer's instructions. Connecting to the electrical network (circuit breaker, RCD, thermostat), however, should be carried out by a person with electrical qualifications - it's a circuit with a sustained load that must comply with applicable standards, and incorrect wiring can be a safety risk and also grounds for an insurance claim to be rejected in the event of damage.
Is there a difference between a roof cable and a gutter cable, or is it the same product?
In most cases it's the same type of self-regulating cable run continuously through the whole system - from the roof edge, through the gutter, to the downpipe. The important thing is simply to correctly plan the total length so that it covers all critical points (not just the visible part of the roof), as described above in the installation section.
Is it worth using a self-regulating cable to protect outdoor water pipes from freezing too?
Yes, this is one of the common applications of self-regulating cable, just at a significantly lower output per meter than for de-icing roofs (typically 10-30 W/m instead of 28-40 W/m) - the pipe only needs to be kept just above freezing point, not used to melt accumulated snow or ice as on a roof.
Related topics
Resistance cable for underfloor heating vs. de-icing
What cable output per m² do I need
Installing a resistance cable
Thermostats and controls for resistance cables
Maintenance and service life of resistance cables
Resistance cables
Have a question on this topic?
Not sure what to decide, or dealing with a specific situation in your home? Write to us - we're happy to help.