
Maintenance and Service Life of Resistance Cables
Why it's worth paying attention to resistance cables even after installation
A resistance heating cable is one of those devices most households only think about once it stops working - usually, then, at the worst possible moment, in the middle of a freezing night when a frozen pipe bursts, or when an ice dam forms on a gutter and water starts leaking under the roof covering. Yet resistance cables, whether they're pipe anti-freeze systems, roof and gutter de-icing, or floor heating, are, from a design point of view, fairly low-maintenance devices with no moving parts. That's exactly why they get less attention than, say, a boiler or a heat pump - and exactly why problems with them are often discovered late.
In this article we look at how long a resistance cable actually lasts, what shortens its service life and what extends it, what a sensible annual inspection schedule looks like, how to measure the basic parameters yourself without a professional company, what the typical signs of an approaching end of life are, and when it's really worth calling an electrician. Finally, we look at what to do when you decide to fully renew a heating system, and why many cabin and garage owners deal with water heating alongside resistance cables.
How long does a resistance heating cable last
A resistance cable's service life isn't a single figure that applies to every type - it depends above all on the cable's construction, the quality of installation and the conditions it operates in. In practice we come across three basic categories:
Mineral-insulated cables (MI cables)
This is the most durable type - a metal sheath (most often copper or stainless steel) and mineral insulation (magnesium oxide) mean the cable can operate at high temperatures, is resistant to mechanical damage and moisture, and its service life is usually stated as 25 to 30 years. The downside is a higher purchase price and the fact that it can't be shortened to size in the usual way - it's supplied to the exact length by the manufacturer.
Self-regulating cables
The most widespread type for de-icing gutters and roofs and for pipe protection. The cable's output automatically adapts to the ambient temperature thanks to a conductive polymer between two conductors. The advantage is simple installation (it can be cut to size) and lower consumption at higher temperatures. The downside is that the conductive polymer degrades slightly over time - the typically stated service life is 10 to 15 years; with quality installation and no mechanical damage, in practice they commonly reach the upper end of this range.
Resistance (constant-wattage) heating cables for floor heating
Single-core and twin-core resistance cables with constant output per metre, used mostly under tiles or in screed. Since they're practically inaccessible once embedded in concrete or adhesive, manufacturers design them for a long service life - usually 15 to 20 years, with some quality fluoropolymer insulations rated for 20 years or more. Most manufacturers give a 10-year warranty on these cables, but that doesn't mean the cable stops working after ten years - that's just the warranty period; actual operational life tends to be considerably longer.
What shortens a cable's service life - and what extends it
A manufacturer-stated service life is always just a theoretical figure under ideal conditions. In real-world operation, several factors decide the outcome, some of which we can partly influence ourselves:
Factors that shorten service life
- Mechanical damage during installation - dents, bends tighter than the specified minimum bend radius, pinching the cable when anchoring it to a gutter, or puncturing it with a nail or screw during later installation of a gutter or windowsill. This is by far the most common cause of premature failure we see in warranty claims.
- Exceeding the maximum permitted temperature - for example when a self-regulating cable on a gutter accidentally crosses over itself or is laid under thermal insulation it wasn't designed for, the temperature at that point rises above the limit and the insulation degrades faster.
- Moisture in joints and end terminations - a poorly made or unprofessionally finished end termination that lets moisture reach the conductors is the second most common cause of failure. This mainly affects DIY installations without heat-shrink kits.
- UV radiation - some gutter and roof cables are partly exposed to sunlight (for example at the edge of a gutter). Cheaper sheaths without UV stabilisation become brittle faster.
- Rodents - especially with outdoor runs near foundations or in the garden, we come across sheaths gnawed through by rodents, which isn't unusual with PVC insulation.
- Repeated switching and circuit overload - a poorly sized or undersized circuit breaker that repeatedly trips and resets as the cable starts up in frost also stresses the cable itself.
Factors that extend service life
- Professional installation according to the manufacturer's installation instructions (bend radius, mounting tape, correct heat-shrink terminations).
- Using a thermostat or control instead of continuous operation - the cable only runs when it's actually needed, reducing both operating hours and thermal stress.
- A regular visual and functional check once a year before the heating season.
- Protection against mechanical damage - covering strips, protective sleeves at points where the cable passes through masonry or an expansion joint.
- A good-quality earthing (protective) conductive layer and a working residual current device, which disconnects the power if the insulation is damaged before more serious damage to the cable or a fire can occur.
Annual maintenance schedule - what to check and when
A resistance cable needs no servicing in the sense of replacing parts or lubrication - it's more about regular checks and catching problems early. The recommended schedule looks like this:
Spring check (April - May)
After the heating/de-icing season ends, it's a good idea to inspect the cable while it's still accessible and dry. Check in particular: whether the cable sheath is cracked or dented, whether the mounting tape and clips are secure, whether the end terminations show signs of moisture or corrosion, and whether rodents have left gnaw marks near the run over winter.
Summer check (June - August)
In summer, when the system is out of operation, is the best time to measure the insulation resistance (more in the next section) and to repair any minor mechanical damage, since taking the system offline at this time doesn't inconvenience anyone.
Autumn check (September - October)
Before the frosts arrive, it's essential to verify that the whole system actually works - switch it on for a short functional test, check the thermostat or frost/moisture sensor settings, and make sure the circuit breaker and residual current device on that circuit are working correctly.
Ongoing monitoring during winter
During the heating season, an occasional visual check is enough - especially after heavy snowfall or a hard frost, check whether ice is forming on a gutter or roof where it shouldn't (a sign that section of the cable isn't working), or whether the heated floor is actually heating up evenly.
How to measure the cable's condition yourself, without a professional
A handy DIYer with the right instrument can manage the two basic measurements, although whenever there's any doubt, or when working with higher voltages, we always recommend calling in an electrician with test equipment.
Measuring the heating circuit's resistance (multimeter)
An ordinary multimeter with a resistance (ohms) measurement function can reveal whether the cable is broken (infinite resistance, out of the instrument's range) or short-circuited (resistance close to zero). The measured value is compared with the value the manufacturer states on the label or in the cable's technical sheet for that length. A healthy cable should be within roughly ±10% of the rated value. A deviation of 15-20% already signals a developing problem (for example a partly damaged conductive polymer in a self-regulating cable); a deviation above 20%, or a value outside the measurable range, means the cable is very likely at the end of its service life or damaged.
Measuring insulation resistance (megohmmeter/megger)
A more precise and, from a safety point of view, more important measurement - it verifies whether current is leaking through damaged insulation into the protective conductor or the surroundings. It's carried out with a special instrument (a megohmmeter) at the test voltage specified by the manufacturer (typically in the range of hundreds of volts up to a few kV). Most installation manuals give the following rough guide: a measured value above 20 MΩ means the insulation is healthy; a value between 1 and 20 MΩ is borderline and the trend should be monitored (repeat the measurement in a few months); a value below 1 MΩ is already a reason to replace that section of cable, since the risk of a fault or electric shock is rising. We recommend leaving this measurement to an electrician with test equipment - the wrong test voltage can damage the cable.
Signs that a cable is nearing the end of its life
Some signals are visible to the naked eye, others only show up during operation:
- Uneven de-icing - a continuous strip of ice remains on the roof or gutter exactly where the cable runs, while the rest is clear. A sign of local damage or a non-functioning section.
- Cold spots on the floor - with floor heating, one strip or loop noticeably colder than its surroundings, whereas years ago the floor was evenly warm.
- Frequent tripping of the circuit breaker or residual current device specifically when the heating circuit is switched on - almost always a sign of deteriorating insulation.
- A burning smell near the distribution board or at a cable termination - a reason for immediate disconnection and inspection, not for waiting until the spring check.
- Visible cracks, brittleness or discolouration of the cable sheath, especially in spots exposed to sunlight.
- System age above the upper end of the stated service life for that cable type (see the first section) combined with even just one of the signs above.
If you spot one of the first five signs, it doesn't necessarily mean the whole system needs immediate replacement - often it's enough to repair or replace just the damaged section or termination. A combination of several signs together with an age close to the upper limit of the service life usually means that repairing one section will only delay a full replacement by a year or two.
Maintenance specifics by type of use
Floor heating
A cable embedded in screed or under tiles is the least accessible, but also the least exposed to mechanical damage and UV radiation once installed - so it usually has the longest real-world service life of all the types, provided it isn't damaged during installation itself (for example by drilling through it later when anchoring furniture or walls). The only realistic "maintenance" during operation is a regular resistance measurement of the circuit before pouring (mandatory and documented) and then once a year afterwards, plus careful handling during any building work in the room - always ask the installer for an exact drawing of the cable layout.
Roofs and gutters against ice
The most heavily stressed type of installation - a combination of UV radiation, temperature swings, mechanical loading from snow and ice, and possible damage during gutter cleaning. This is where the spring and autumn checks deserve the most time of all the use types.
Pipe frost protection
Typically in cabins, garages, water supply connections routed shallow under the surface, or outdoor pipework. Here the key things are checking the thermal insulation around the pipe (the cable alone can only keep the temperature above freezing if the pipe is also insulated) and the thermostat working correctly, switching the cable on only when the temperature drops below the set threshold - otherwise the cable runs needlessly even during periods when it isn't needed, which shortens its service life.
Comprehensive protection of pipework in a cabin or garage
In practice we very often come across customers protecting water pipework with a resistance cable precisely in buildings without year-round heating or constant supervision - a cabin, a garden shed, a garage or a workshop. In such spaces it makes sense to look at protecting the pipework comprehensively, not just the anti-freeze cable itself but also the way hot water is produced. Where it makes no sense to build a central hot water system, small electric instantaneous or pressure water heaters have proven their worth, switched on only on arrival and not burdening the building's operation while nobody is there.
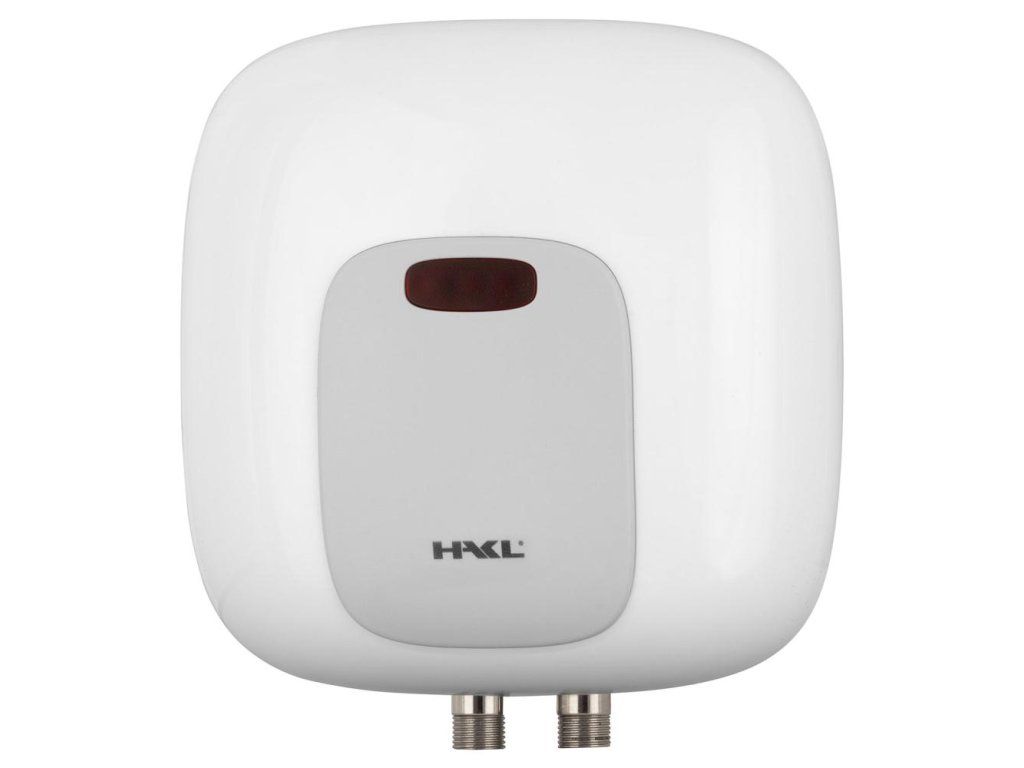 |
HAKL PL 3.5kW water heater - a compact pressure water heater suitable for a small bathroom or kitchenette in a cabin, where you're also protecting the supply pipe with a resistance cable - together the two devices provide sensible frost protection even without a year-round presence. Price from EUR 95.94. |
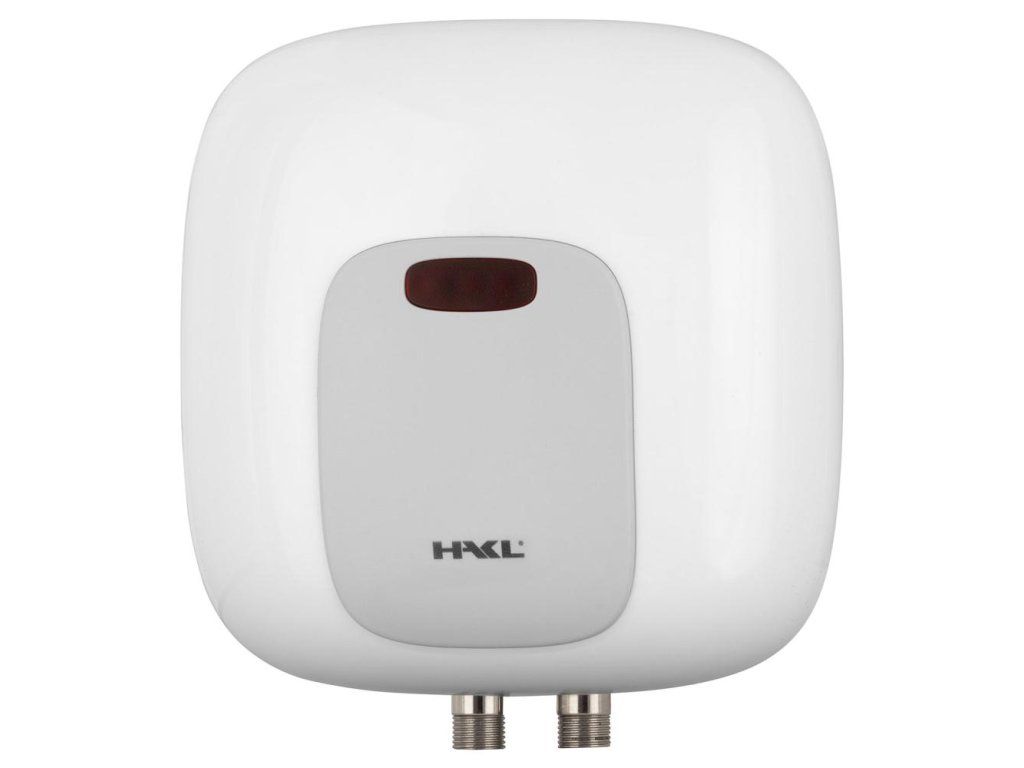 |
HAKL PL 4.5kW water heater - a somewhat more powerful model for households with higher hot water demand, for example a bedsit next to a garage or a utility room where a heating cable protecting the pipework also runs. Price from EUR 95.94. |
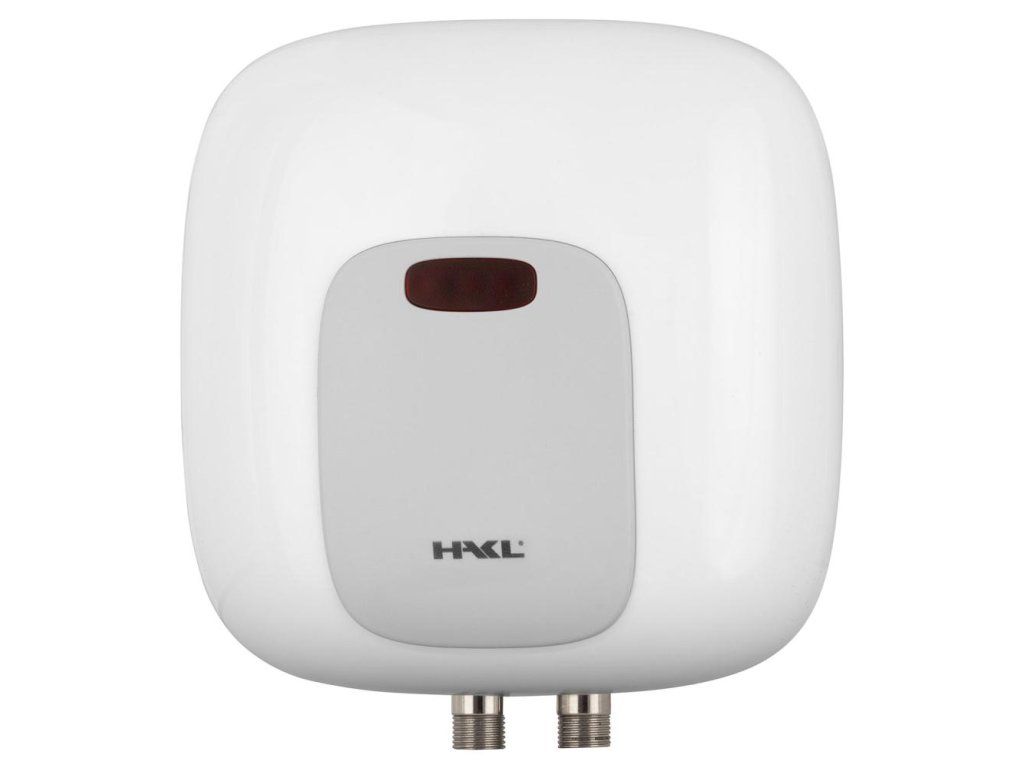 |
HAKL PL 5.5kW water heater - the most powerful in the range, suitable where you need faster heating for higher demand, for example several outlets used at once. Just like the anti-freeze cable, this heater is also worth checking once a year (safety valve, seal) so it works reliably even after the building has stood empty for a while. Price from EUR 95.94. |
The common denominator of both solutions is simplicity and reliability without the need for complex servicing - a short annual check before the season is enough for both systems to keep working reliably for years.
What to do when a cable has reached the end of its life
If the measurements or the signs described above confirm that the cable is at the end of its service life, the next step depends on the type of installation:
Surface-mounted cable (roof, gutter, exposed pipe)
Replacement is fairly straightforward - the old cable is removed and replaced with a new one, ideally with the same or slightly higher output per metre, taking into account the manufacturer's current recommendations for that gutter or pipe diameter. This work can usually be completed within a single day.
Embedded cable (floor heating)
Here the situation is more complex - replacement means removing the floor covering and the screed, which is building work. That's exactly why it clearly pays off to invest in quality installation and ongoing checks from the very start with floor heating, to avoid premature replacement. If replacement does become necessary anyway, it's usually also a good opportunity to consider a more modern control system (for example a room thermostat with a programmable weekly schedule), which again extends the new cable's service life compared with the original continuous operation.
Maintenance costs compared with replacement costs
From a cost perspective, regular maintenance is incomparably cheaper than a late replacement of the whole system. As a rough guide:
As the comparison shows, the cost of a regular check is an order of magnitude lower than the cost of a late replacement - and that doesn't even count the inconvenience and possible damage caused by a frozen or burst pipe that the cable was meant to prevent in the first place. From this point of view, a regular, even if just 20-minute, autumn check before the season is one of the cheapest insurance policies you can give your home.
Practical pre-winter checklist
- Visually inspect the whole accessible section of cable - no cracks, dents or signs of rodent damage.
- End terminations and joints dry, free of corrosion, mechanically secure.
- Functional test - the cable actually heats up when switched on (check by touch after a safe interval, or with a thermal camera if available).
- Thermostat or frost/moisture sensor correctly set and working.
- Circuit breaker and residual current device on that circuit tested (the device's test button).
- For gutters and roofs, check that the cable isn't buried under fallen leaves or other material that would block the drainage of melted water.
- For pipes, also check the thermal insulation around the cable - damaged or wet insulation significantly reduces the protection's effectiveness.
Frequently Asked Questions
Do I need to disconnect a resistance cable for winter, or should it stay permanently connected?
It's recommended to leave the cable permanently connected to the power supply and let the thermostat or built-in control do the work, switching the cable on only when actually needed. Manually disconnecting and reconnecting it increases the risk that it will accidentally be left disconnected during frost.
How often should I measure the cable's resistance if I don't have my own multimeter or electrical experience?
If you don't feel confident measuring it yourself, it's enough to book a professional inspection once every 2-3 years during normal operation with no warning signs, and immediately at the first suspicion of a problem (as described above in the section on wear signs).
Can a damaged section of resistance cable be repaired, or does the whole piece always need replacing?
For both self-regulating and constant-wattage cables, repair kits and connector sets exist for joining two pieces of cable, which work reliably when professionally installed. For MI cables, repair is more complex and in practice is more often handled by replacing the whole section between two accessible points.
Does the length of the cable affect how fast it degrades?
Not directly - the installation conditions (mechanical stress, temperature, moisture) matter more than the length itself. A longer cable does, however, statistically have a higher chance that a problem spot will occur somewhere along its run, simply because it passes through more sections and joints.
Is there a difference in maintenance between a cheap and a more expensive resistance cable?
Yes - cheaper cables without good UV-stabilised sheaths or certified terminations tend, in practice, to have a higher failure rate already within the first 5 years of operation, while established brands with a quality sheath and a set of original accessories (terminations, connectors, mounting material) reliably reach the upper end of the service life range described in the first section of this article.
Does it make sense to measure insulation resistance already at the first installation, or only once a problem is suspected?
Measuring at the first installation (before pouring the floor or before the installation is finally closed off) is essential - it's the only moment when you can document with complete certainty that the cable was working and undamaged when it was handed over. This initial value is also the reference point for every subsequent measurement over the cable's service life.
Related topics
How to choose a heating resistance cable
The most common resistance cable faults
Thermostats and control for resistance cables
Installing a resistance cable
You'll find the full range in the main category Resistance cables.
Have a question about maintaining resistance cables?
Not sure how to take a measurement, wondering whether it's worth repairing a section of cable, or dealing with another specific situation in your home? Write to us - we're happy to help.