
What Cable Output per m2 Do I Need
"What cable output per m² do I need" is probably the most common question we get when helping customers choose a resistance heating cable - whether it's for floor heating in a bathroom, tempering a living room, or de-icing steps and gutters before winter. A badly estimated output is hard to fix afterwards: an undersized cable will never heat the room to the desired temperature, an oversized one needlessly inflates both the investment and running costs, and in the worst case can overload the thermostat or shorten the cable's service life. In this article we go through, in practical terms, how output is calculated, what W/m² values are actually used for each purpose, and, using specific examples from everyday installation practice, we show how to arrive at the right number without needless guesswork.
Why getting the output right matters
A resistance heating cable works on a simple principle - electric current passes through a resistance conductor and is converted into heat. The amount of heat the cable can deliver into a floor, a roof or a path is given by its rated output in watts. If we divide this output by the area we're laying the cable on, we get a value in watts per square metre (W/m²) - and this value is the key number in the design.
The problem is that the "correct" W/m² value isn't a single universal number. It differs depending on whether the cable is meant to be the sole heat source in a room, or just a supplementary comfort feature alongside radiators. It also differs depending on whether it's indoor floor heating or an outdoor application, where the cable fights frost, wind and heat loss to the air - there the requirements are an order of magnitude higher. The same mistake recurs in both directions: people often think "more is always better" and buy a cable with a higher output than they actually need. This not only needlessly inflates the purchase cost, but with floor heating it can also lead to uneven overheating of the floor covering, especially with laminate and wooden floors, which have a lower surface temperature limit.
The basic unit: what W/m² actually means
Watts per square metre (W/m²) tells you how much heat energy per second the cable delivers to each square metre of the area it's laid on. It's important to distinguish two different areas that are commonly confused in practice:
The total room area - this is the area you measure with a tape measure (length × width). But the cable isn't laid across the whole of this area - space under a bathtub, a shower tray, a kitchen unit, a built-in cabinet or other furniture sitting directly on the floor without a gap is left out. The area available for laying the cable (the effective area) is what actually remains once these spots are subtracted, and it's this area that the cable density in W/m² is calculated against. This area is usually 15 to 30% smaller than the total room area, and in small bathrooms with a large bathtub it can easily be even more.
Mixing up these two areas is the most common reason a cable turns out to be "underpowered" - in reality, a cable sized for the total room area, when laid over just the smaller effective area, achieves a lower actual W/m² density than intended.
Output by intended use of the cable
In practice we distinguish four basic categories of resistance cable use, each with a completely different recommended output range. The figures below are based on everyday installation practice for properly insulated new builds and renovations in Slovakia - for older, poorly insulated buildings, you should plan for the upper end of the range, or a little higher.
Supplementary tempering (comfort heating alongside radiators)
If the cable is only a supplementary heat source - i.e. radiators or another system provide the main heating and the cable just needs to "take the chill off" the floor and add comfort for bare feet - a density of 60 to 80 W/m², based on the total room area, is enough. Since this type of installation often only covers 70 to 80% of the area (space under furniture is left out), the density recalculated against the actually covered area works out higher, usually around 90 to 110 W/m². This range is commonly used in living rooms, bedrooms, and hallways with tiles as well as wooden or laminate flooring, where the upper limit on surface temperature is stricter.
Main heating (the cable as the sole heat source in a room)
If the cable is meant to be the sole or main heat source - typically a bathroom without a radiator, a new build, or a full renovation where floor heating is designed as the primary system - the required density rises to 120 to 150 W/m² of effective (covered) area. For very poorly insulated rooms, rooms with a high ceiling, or rooms with large glazed areas, you can go a bit higher, but for living spaces we generally don't go above 160 W/m² - that's the point where it becomes more economical to address the cause of the heat loss (insulation, windows) rather than compensate for it with a higher cable output.
Outdoor surfaces - steps, paths, ramps against ice and snow
Outdoors the situation is completely different - here the cable isn't just fighting for a comfortable surface temperature, it has to melt snow or ice and drain away the resulting water, while the surrounding air and wind take away a large part of the heat. That's why a density of 250 to 300 W/m² is typically used here, and for exposed spots (shaded north-facing steps, frequent icing) 300 to 350 W/m². This is a fundamentally different figure from indoor floor heating, and it's the most common mistake we see - someone chooses a cable for outdoor steps based on floor heating figures, and then finds the snow doesn't melt fast enough.
Gutters and downpipes - a special case calculated by length, not area
For gutters and downpipes, output isn't calculated per area but per length of cable, since the cable is laid in loops in the gutter (typically two or three parallel lines), not as an area mat. A typical value is around 30 W per metre of gutter route (calculated as the length of the cable's path, not the length of the gutter itself if it's laid in multiple runs) and 20 to 25 W per metre of downpipe. We go into this topic in more detail in the separate article Resistance cable for roofs and gutters against ice.
How the total required output is calculated - a worked example
The theoretical W/m² values are only the first step. To know exactly what cable or mat wattage to order, you need to multiply them by the actual area being covered. Let's show this with a real example from everyday installation practice.
Example 1 - a bathroom with floor heating as the main heat source: The bathroom has a total area of 6 m². After subtracting the space under the bathtub, the shower tray and a low cabinet under the sink, the effective area for laying the cable is 4.5 m². Since the cable is meant to be the sole heat source, we choose a density of 150 W/m². Calculation: 4.5 m² × 150 W/m² = 675 W. In practice, this means you're looking for a cable or mat with an installed output of around 700 W (manufacturers offer cables in fixed output steps, so you choose the nearest higher one, not the exact calculated figure).
Example 2 - a living room with supplementary tempering: The living room has a total area of 20 m², of which, after subtracting the sofa, coffee table and a bookcase against the wall, 14 m² of free area remains. The floor is laminate, the cable is only supplementary alongside radiators, so we choose a density of 70 W/m². Calculation: 14 m² × 70 W/m² = 980 W, i.e. a cable with an output of around 1,000 W.
Example 3 - outdoor steps against ice: An outdoor staircase with five steps has an area of 4 m². It's an exposed spot on the north side of the house, so we choose the upper limit of 300 W/m². Calculation: 4 m² × 300 W/m² = 1,200 W.
Example 4 - a gutter and two downpipes: The gutter is 15 m long, with the cable laid in a single line; the downpipes are 2 pipes of 3 m each. Calculation: 15 m × 30 W/m = 450 W for the gutter, 6 m × 25 W/m = 150 W for the downpipes, for a total of 600 W.
What affects the choice of W/m² besides the purpose itself
The ranges above are indicative, and in a specific room you can lean closer to the lower or upper limit depending on a few factors.
Type of floor covering
Ceramic tiles and natural stone conduct and store heat well, so they can handle a higher power density without risking surface overheating. Wooden floors, laminate and vinyl, on the other hand, have a lower surface temperature limit (usually around 27 to 28 °C) and conduct heat less well - for these coverings you should stick closer to the lower end of the range, even if you'd theoretically like a higher output.
Thermal insulation under the cable
If the cable is laid on a thermal insulation board (common in both renovations and new builds), most of the heat goes upward into the room and there's no need to increase the output to cover losses downward. Without insulation, for example when laying directly on a concrete base in an unheated basement, you need to allow for higher losses and therefore a higher required output, or a longer time to reach the desired temperature.
Room position and orientation
Rooms on the north side of a building, corner rooms with two outside walls, or spaces above an unheated garage have higher heat loss than interior rooms surrounded by heated spaces - here too it's worth leaning closer to the upper end of the recommended range.
Ceiling height and air volume
At a typical ceiling height of 2.5 m, the figures above apply directly. For high ceilings (for example attic spaces with a pitched roof, or older houses with ceilings above 3 m), you need to allow for a larger volume of air to heat and increase the figures slightly, usually by 10 to 15%.
The most common mistakes when estimating output
Over the years of installations, the same few mistakes keep recurring, and they're easy to avoid:
Calculating with the total room area instead of the effective area. If you forget to subtract the bathtub, a kitchen unit or built-in cupboards, you'll end up with a lower W/m² density than you intended, and the resulting comfort will be lower than expected.
Using supplementary-tempering figures where the cable is meant to be the sole heat source. This is the most common complaint we come across - someone buys a cable with a density of 70 W/m² for a bathroom with no radiator and is puzzled that the tiles are never properly warm in winter. The solution is to be clear in advance about whether there will be another heat source in the room, or whether the cable will be working alone.
Applying outdoor figures to indoor use and vice versa. The difference between 150 W/m² indoors and 300 W/m² outdoors isn't arbitrary - the outdoor environment removes heat much faster (wind, evaporation, direct contact with snow), so an indoor-rated cable laid outdoors simply won't melt snow fast enough.
Underestimating the output margin for very poorly insulated spaces. If you know a room has high heat loss (old, leaky windows, missing facade insulation), it's better to choose the upper end of the range, or better yet address the cause of the heat loss first - in the long run this works out cheaper than compensating for it with a higher cable power draw.
You'll find a more detailed guide to choosing a specific type of cable (single-core vs. twin-core, with extra insulation, with an integrated sensor) in the article How to choose a heating resistance cable. If you're facing the same dilemma when deciding between floor heating and de-icing, also see Resistance cable for floor heating vs. de-icing.
A bathroom with floor heating - what else to plan alongside the cable
When renovating a bathroom and working out the right output for the floor cable, it's also worth thinking through the other heat and hot water sources that will be operating in the room at the same time. If you're also planning to replace the hot water setup in the same bathroom, for example with a small electric storage water heater under the sink or in a cabinet, it's worth choosing the heater's output to match the household's actual demand - just as we showed for the cable.
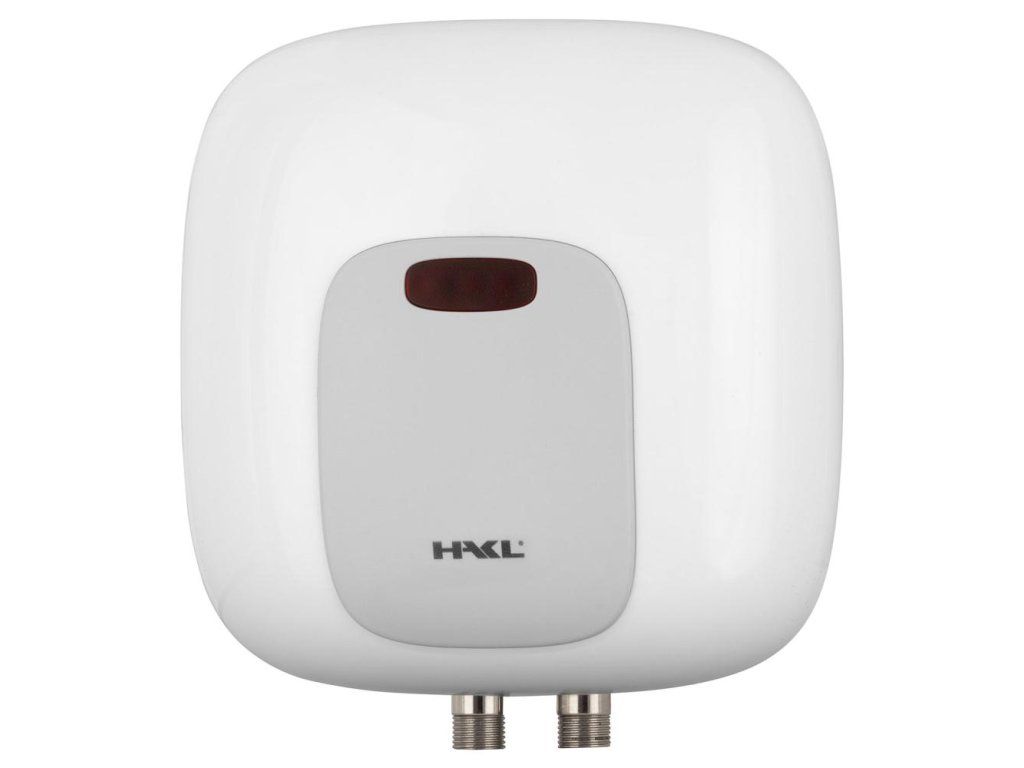 |
HAKL PL 3.5kW water heater - a compact instantaneous water heater suitable for a small bathroom with one sink, where you're also renovating the floor heating and want to simplify the hot water pipework. Price from EUR 95.94. |
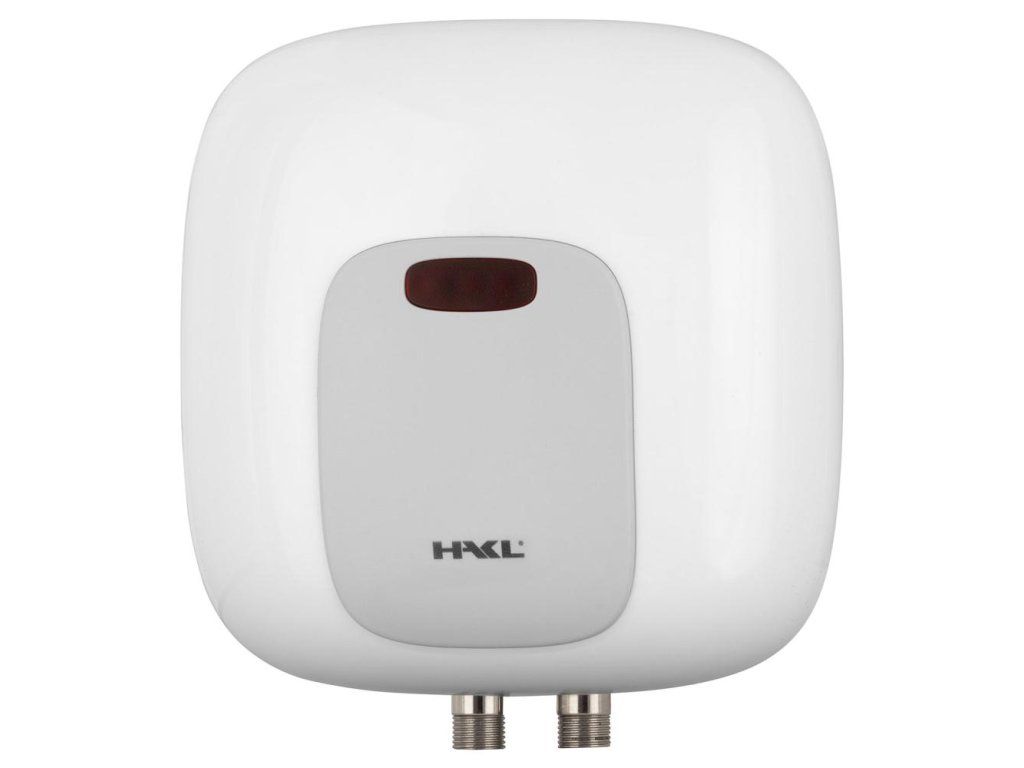 |
HAKL PL 4.5kW water heater - a somewhat more powerful model that can also handle a shower or higher flow, if the bathroom with floor heating is used by several people at once. Price from EUR 95.94. |
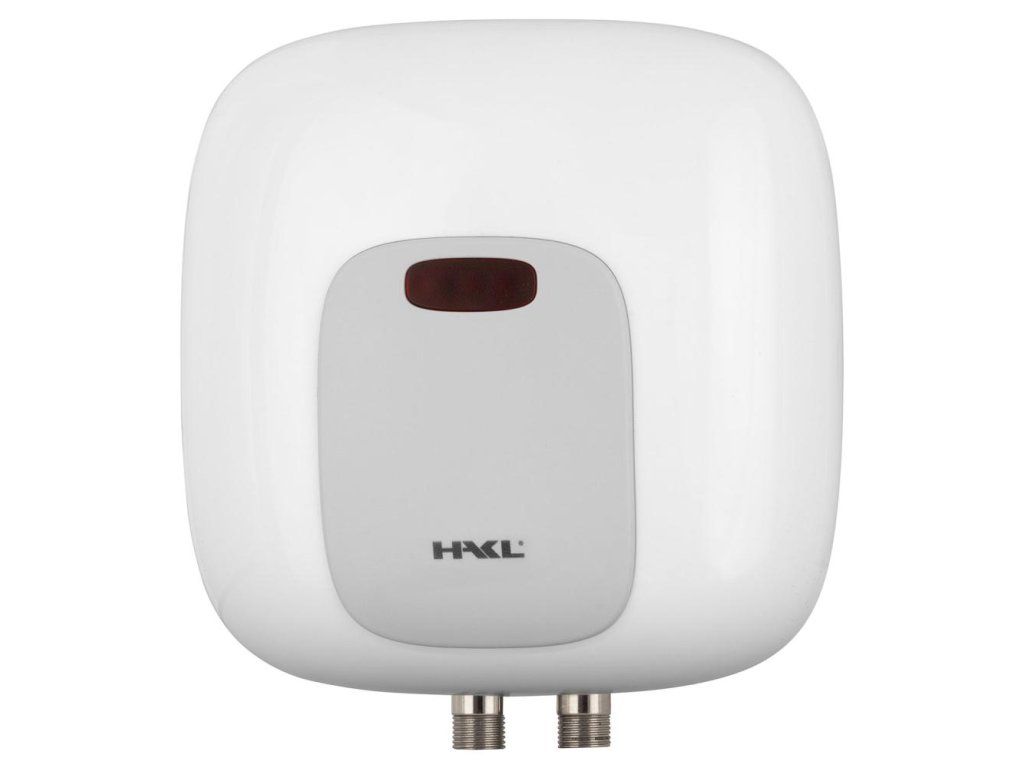 |
HAKL PL 5.5kW water heater - the most powerful in the range, suitable for a household with higher hot water demand, where floor heating only needs to keep the floor at the right temperature and a separate appliance handles water heating. Price from EUR 95.94. |
Undersized vs. correct vs. oversized output
To see what a real difference the output estimate makes, let's go back to the living room example with an effective area of 14 m² and a required output of 980 W. If you'd mistakenly bought a weaker 600 W cable (for example because you calculated with the total 20 m² area instead of the effective 14 m² and used a lower density), the floor would heat up slowly and would never reach the planned temperature even running at 100% output. Conversely, a 1,500 W cable would heat the room faster, but the thermostat would have to switch the cable on and off much more often (shorter cycles), which increases wear on the switching components over the long run and brings no real extra benefit - the room temperature ends up the same, it's just reached a bit sooner, typically within tens of minutes, which doesn't matter for a normal daily heating schedule.
Examples from practice
Bathroom renovation in a panel building flat (5 m²): The customer originally planned a standard 150 W/m² solution over the whole 5 m² area, i.e. 750 W. After measuring, it turned out the actual area available for the cable, once the bathtub and corner shower were subtracted, was only 3.2 m², which at the same density gives 480 W. Ordering the higher-output cable as originally planned would have created a density on the actual area well above the recommended range - the right approach was to first precisely measure the effective area, and only then choose the output.
A cabin with a wooden floor, supplementary tempering (25 m²): Here the mistake was the opposite - the owner wanted to use the main-heating density (150 W/m²), even though the cabin also has a solid-fuel stove as its main heat source. On a wooden floor, this density would also have exceeded the safe surface temperature limit for wood. After explaining the difference between supplementary and main heating, a density of 70 W/m² was chosen, which, over the effective area of 18 m² (after subtracting furniture), gives 1,260 W - enough for pleasant comfort without any risk of overheating the floor.
Outdoor staircase at a family house, shaded north side (6 m²): Because of permanent shading from a tree, the steps didn't get direct sunlight for long periods in winter, and ice on them lasted longer than on surrounding surfaces. The upper limit of 320 W/m² was chosen, i.e. 1,920 W in total, instead of the usual 300 W/m², which might not have been enough to reliably melt ice at this exposed spot during harder frosts.
Frequently Asked Questions
Can I use the same cable for floor heating and for de-icing steps?
This isn't recommended. A floor heating cable has a density of 70 to 150 W/m², while outdoor de-icing needs 250 to 300 W/m² and usually also a more robust design against moisture and mechanical stress (for example being walked or driven on, grit, UV radiation). For outdoor use, we always choose a cable specifically designed for that purpose by the manufacturer.
What if I can't precisely determine the room's effective area?
As a rough guide, the effective area in a typical bathroom is 65 to 80% of the total area, and in a living room or bedroom 70 to 85%, depending on how much furniture is against the walls. For a more precise design, though, it's always better to have a floor plan with the bathtub, cabinets and other furniture sitting directly on the floor accurately drawn in.
Is it better to buy a cable with a slightly higher output "just in case"?
A small margin (up to 10%) is fine and is commonly used in practice anyway, since manufacturers offer cables in fixed output steps and the exact calculated figure usually can't be ordered to the watt. A significantly higher output above the recommended range, though, only brings higher cost with no real benefit, and for wooden or laminate floors also the risk of exceeding the safe surface temperature.
Does the choice of thermostat affect the cable's required output?
No, the thermostat doesn't change the cable's required installed output - its job is to switch the cable to maintain the set temperature. A correctly sized thermostat with a floor sensor, though, can significantly improve running efficiency and reduce wear compared with simple switching without feedback. We cover this topic in detail in the article Thermostats and control for resistance cables.
What happens if I choose too low an output?
The cable will run at 100% output practically non-stop and still never reach the required temperature, or only reach it in very favourable weather. In practice, this looks like the thermostat showing the setpoint as met, but the floor or step surface still feels noticeably cold, or snow on the steps melting only very slowly.
Can a cable's output be increased later if it turns out to be insufficient?
Once a cable is embedded or built in, it can't be "upgraded" to a higher output afterwards - the only solutions are either adding a second, independent circuit (if space allows), or, during a larger renovation, replacing the cable with a more suitable one. That's exactly why it's worth paying enough attention to the output calculation before installation, not after it. We describe common installation mistakes that make this problem even worse in the article Installing a resistance cable.
Related topics
How to choose a heating resistance cable
Resistance cable for floor heating vs. de-icing
Resistance cable for roofs and gutters against ice
Have a question about this topic?
Can't decide, or dealing with a specific situation in your home? Write to us - we're happy to help.