
Resistance Cable for Roofs and Gutters Against Ice
Resistance cable for roofs and gutters against ice
Every year, around the turn of autumn and winter, we deal with dozens of customer questions at atria.sk about the same problem: a roof or gutter where the first big cold snap creates an ice dam, water has nowhere to evaporate or drain away, and instead runs down the facade, freezes in the gutter, or, worse, overflows the roof edge straight into the wall of the house. A resistance heating cable for roofs and gutters is one of the few solutions that tackles this problem systematically rather than just cosmetically - it doesn't remove the cause (the temperature difference between a heated roof and freezing air), but keeps the critical spots (gutters, downpipes, valleys) warm enough that melting snow and ice always have somewhere to drain to.
In this article we explain how a resistance cable on roofs and gutters works, exactly where it's installed, what type of cable and what output per metre you need, how to calculate the cable length for a specific roof, the most common installation mistakes, and how much this kind of protection actually costs to run. The text is written practically, based on common installation situations, not as marketing material - a resistance cable isn't a universal solution for every roof, and we'll also cover when installing one isn't worth it.
Why the ice problem on roofs and in gutters happens at all
An ice dam always forms through the same mechanism. A roof is never perfectly cold - even with an insulated roof, some heat escapes from the attic or heated spaces below and warms the roof covering from underneath. Snow on the upper part of the roof therefore slowly melts, even when it's freezing outside. The melted water runs down towards the roof edge - and that's exactly where, above the gutter and eaves, the roof is coldest, because that part is no longer above heated space. The water refreezes there, an ice dam forms, and more and more water backs up behind it. That water then has nowhere to go, gets under the roof covering, into the gutters, where it also freezes, and a heavy block of ice gradually builds up in the gutter, which can literally tear the gutters off the roof.
The same problem repeats in downpipes (the vertical pipes that carry water from the gutter down to the ground or into the storm drain) - there, water freezes in the pipe's narrow cross-section, blocks it within a few days, and any further meltwater has nowhere to go, so it overflows the edge of the gutter. The worst affected are north-facing roof slopes, valleys (where two roof planes meet), and sections of roof above uninsulated spaces such as dormers or garage extensions, where the temperature difference between the roof and the air is extreme.
When it's worth using a resistance cable, and when it isn't
A resistance cable makes sense where the problem repeats - i.e. on roofs where you already had a torn-off gutter, leaking under the covering, or dangerous icicles above the entrance or path last winter. It doesn't make much sense as a preventive measure on a brand-new roof with good attic insulation and no history of problems - there, it's cheaper and more sensible to first sort out the roof's ventilation and insulation, since escaping heat is exactly what causes the snow to melt in the first place. A cable is a tool that treats the consequence (ice in the gutter), not the cause (heat loss through the roof). If the roof is very poorly insulated, even a cable with sufficient output can end up fighting an amount of melting snow that simply exceeds its capacity.
How a resistance cable on a roof works
The principle is the same as for heating cables in a floor or a pipe - current passes through an electrical resistance conductor, which converts it into heat. The cable is laid in the gutter, or fixed along the roof edge in a zigzag pattern so as to keep a clear path for draining water even at sub-zero temperatures. In downpipes, the cable is either fed directly into the pipe or run along its outer surface, depending on the downpipe material.
On roofs and in gutters, essentially two types of resistance cable are used, and the difference between them is key to choosing correctly:
- Self-regulating cable - contains a conductive polymer whose resistance changes depending on the surrounding temperature. The colder it is outside, the more heat the cable radiates at that point, and vice versa - where the cable is covered in snow or the temperature is higher, its output automatically drops. This means it can be cut to exactly the needed length (within the permitted limits) and there's no risk of overheating where it crosses over itself several times.
- Constant (fixed) wattage cable - radiates the same amount of heat per metre regardless of the surrounding temperature. It's cheaper to buy, but must never cross over itself (risk of local overheating and insulation damage) and can't be shortened at will - it's supplied in fixed lengths with a factory-crimped end.
For roofs and gutters, the self-regulating type is more often recommended in practice, precisely because of the safety benefit when crossing over itself (in a gutter, and especially in a downpipe, the cable almost always crosses itself somewhere) and because it automatically "saves" during milder frost and adds output exactly where needed during hard frost. The diagram below shows the real difference in output between the two types at two common temperatures.
The chart shows why the self-regulating cable is more popular in practice: in mild frost around 0 °C it uses less energy (18 W/m versus 30 W/m), but in hard frost at -20 °C it automatically raises its output to 28 W/m, almost matching the constant-wattage cable, exactly when it's needed most. A constant-wattage cable holds its 30 W/m at all times, meaning higher consumption at the ordinary winter temperatures that make up most of the heating season.
Where exactly the cable is installed on a roof and gutter
The scope of installation depends on the problem you're solving. In practice, we distinguish three levels of protection:
- Gutters only - the cable runs along the bottom of the gutter in one or two parallel lines (depending on the gutter's width), usually in a gentle zigzag, so there's still room for water to flow freely alongside the cable.
- Gutters + downpipes - a loop or straight section of cable is added into each downpipe, preventing an ice plug forming exactly where the pipe's cross-section is narrowest and blockages happen most often.
- The whole roof edge including valleys - for roofs with a more complex shape (multiple planes, dormers, valleys), the cable also runs along the roof itself in a zigzag at the edge and in the valleys, not just in the gutter. This is the most demanding and energy-intensive option, but the only one that actually addresses icicles forming at the edge of the roof covering too, not just in the gutter.
A common mistake we see among customers who install the cable themselves without prior consultation is running the cable only along the bottom of the gutter without it also reaching into the downpipe. The result is that the gutter stays clear, but the water stops and freezes right at the entrance to the downpipe - the problem is simply shifted a metre lower down.
Calculating the required cable length and output
The cable length isn't simply the gutter length - in the gutter the cable is almost always run in a slight zigzag (to adequately cover the width of the gutter bottom, not just one line), so in practice a factor of roughly 1.5 times the gutter length is used for gutters up to about 15 cm wide. The length needed for downpipes is then added - roughly as many metres of cable are added per downpipe as the downpipe itself is long (one straight line, or a short loop at a pipe bend).
A specific example from everyday practice: a family house with a 15-metre gutter and two 3-metre downpipes. The calculation looks like this:
In practice, the next larger available cable length is always chosen to leave a small margin - in our example, a 30-metre set instead of the exactly calculated 28.5 metres. When ordering the cable, you also need to allow for the supply lead from the nearest socket or distribution board to the first point on the gutter - this is handled with a separate (non-heating) supply lead, not by extending the heating cable itself.
As for output, for a typical family house roof in central and northern Slovakia's conditions, a cable with an output between 20 and 30 W per metre is recommended - a lower output (up to 20 W/m) is enough for milder regions or just to keep the gutter clear, while a higher output (above 30 W/m) is chosen for steeper roofs, heavier snow loads, or a combination of gutter + downpipe + part of the roof.
Step-by-step installation procedure
Installing a resistance cable on a roof isn't technically complicated, but the order of steps needs to be followed - mainly for electrical safety and so the cable stays in place for years even under the weight of snow and ice.
1. Survey the route. Before ordering the cable, measure exactly the gutter length, the number and length of downpipes, and any valleys. Photograph the roof from several angles - when planning, it often helps to see exactly where last winter's problem occurred (ice tends to recur in the same spots).
2. Fixing the cable. In the gutter, the cable is fixed with special plastic clips or mounting tape specified directly by the cable manufacturer, spaced roughly 25-30 cm apart, so it doesn't slip out of position under the weight of ice and snow. On the roof (at a valley or the edge of the covering), special roof hooks or clips are used depending on the covering type (different for sheet metal, tiles, asphalt shingles). The cable must never be fixed with nails or staples, which could damage its insulation.
3. Electrical connection. A roof heating cable is always connected through a dedicated residual current device with a 30 mA tripping current, ideally on its own protected circuit in the distribution board, not "temporarily" via an extension lead from an outdoor socket without an RCD. Since the cable is exposed to moisture, snow and UV radiation all winter, the quality of the electrical connection and the protection rating of the joints (IP68 for outdoor joints) are critical for both safety and service life.
4. Control. Without a thermostat, the cable would run continuously all winter, which is needlessly expensive and needlessly hard on the cable itself. A combined thermostat is therefore normally used, with a temperature sensor (switching the cable on only below a set threshold, typically around +3 to +5 °C) and a precipitation/humidity sensor (the cable doesn't switch on during dry frost with no snow, where there's no risk of ice forming). This combination can reduce the cable's operating hours by tens of per cent compared with simple temperature switching.
5. Test run. Before the season's first real frost, it's a good idea to manually switch the cable on for a few minutes and check that the whole run heats up evenly (most easily with a thermal camera, or at least by touch after a few minutes of operation) - this reveals any damaged spot or poorly made joint before the real frost arrives and the problem only shows up when it's too late.
The most common installation and operating mistakes
Over the years we've been advising customers on resistance cables for roofs, the same few mistakes keep recurring:
- Underestimating the cable length in downpipes. As mentioned above, the cable is often run only as far as the gutter, leaving the downpipe unprotected - the result is an ice plug exactly where the most water accumulates.
- Crossing a constant-wattage cable over itself. With the fixed-output type, crossing it over itself risks local overheating and, in the worst case, an insulation fire - this point in the installation must always either use the self-regulating type, or strictly follow the manufacturer's instructions on minimum spacing.
- A missing or poorly placed sensor. If the temperature/precipitation sensor is placed on the sunny side of the roof or too close to a ventilation flue, it can give a distorted reading, and the cable won't switch on exactly when it's needed.
- No dedicated residual current device. An outdoor installation exposed to moisture without proper protection is a real safety risk, not just a theoretical one - moisture in the joints degrades the insulation over time.
- Continuous operation without control. Without a thermostat, the cable runs needlessly even during periods of frost with no snow or ice, significantly increasing the electricity bill with no benefit at all.
Energy consumption and real running costs
This is probably the question we deal with most often - how much this kind of roof protection actually costs over winter. The answer depends on the scope of the installation (gutters only vs. gutters + downpipes vs. the whole roof), the quality of the control (a thermostat with a precipitation sensor saves significantly compared with continuous operation), and the length and severity of winter in the given location. The overview below is based on a typical estimate of roughly 300-400 operating hours per season for a cable controlled by a combined thermostat, at an electricity price of around EUR 0.20/kWh:
As you can see, gutters alone work out at roughly 300 kWh per season, i.e. around EUR 60 at a typical electricity price. Adding downpipes increases consumption only slightly (to roughly 350 kWh, i.e. EUR 70), since downpipes are a short section of the route compared with the total gutter length. The biggest jump comes with extending protection to the whole roof including valleys - there, consumption can climb to 600 kWh and more (EUR 120 and more), since this involves a substantially longer cable run and often a higher output installed per metre. These figures are indicative and can vary in a specific case depending on the length of winter, the thermostat's settings and local climate conditions, but in practice they've proven to be a fairly accurate estimate for us.
For comparison - a single repair of a torn-off gutter, including a roofer's labour, typically ranges from a few dozen to a few hundred euros depending on the extent of the damage, not counting any resulting damage to the facade, insulation or interior from leaking. From this point of view, the investment in a cable, including a year's running costs, often pays for itself after just the first repair it prevents.
Frost protection isn't just for the roof - what else is worth sorting out before winter
Once you've decided to deal with frost on the roof, it's worth also looking at other spots in the house where frost causes similar problems - typically utility rooms, garages or cabins, where the water pipework or the hot water source itself can also freeze. In exactly these unheated or only minimally heated spaces, it's worth also adding a small instantaneous or storage water heater with its own frost-protection function, which can protect the room's pipework from freezing independently of the roof heating cable.
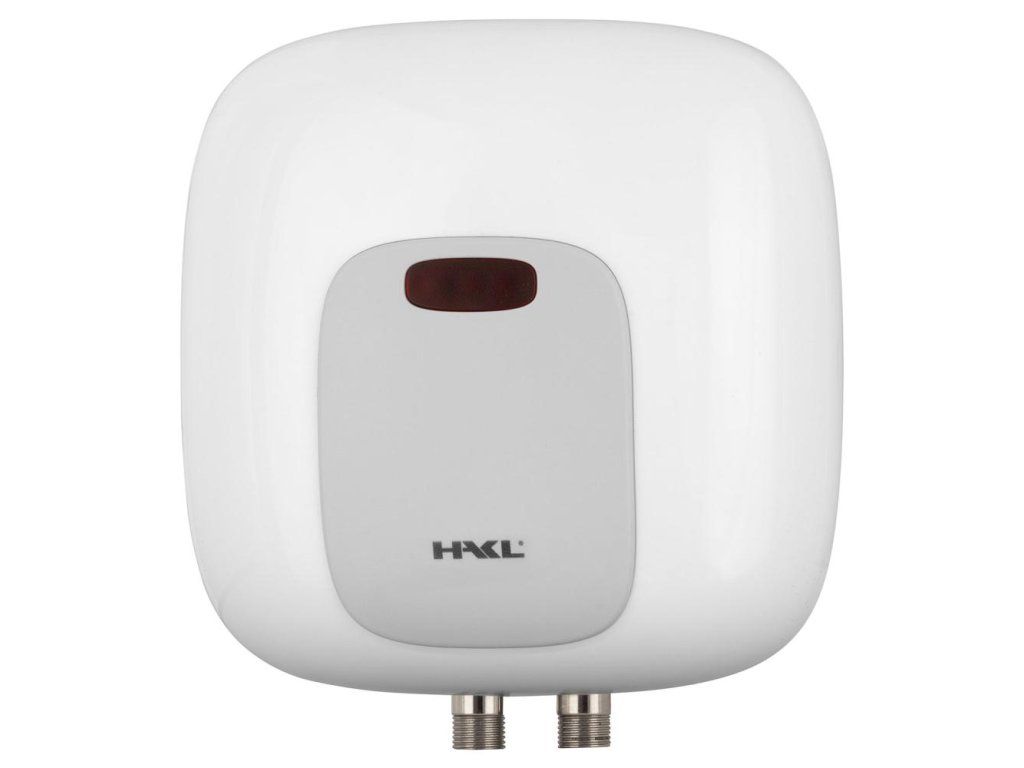 |
HAKL PL 3.5kW water heater - a small pressure water heater suitable for a garage, utility room or cabin, where the pipework risks freezing in frost, just like a roof gutter. A complement to the heating cable, not a replacement for it. Price from EUR 95.94. |
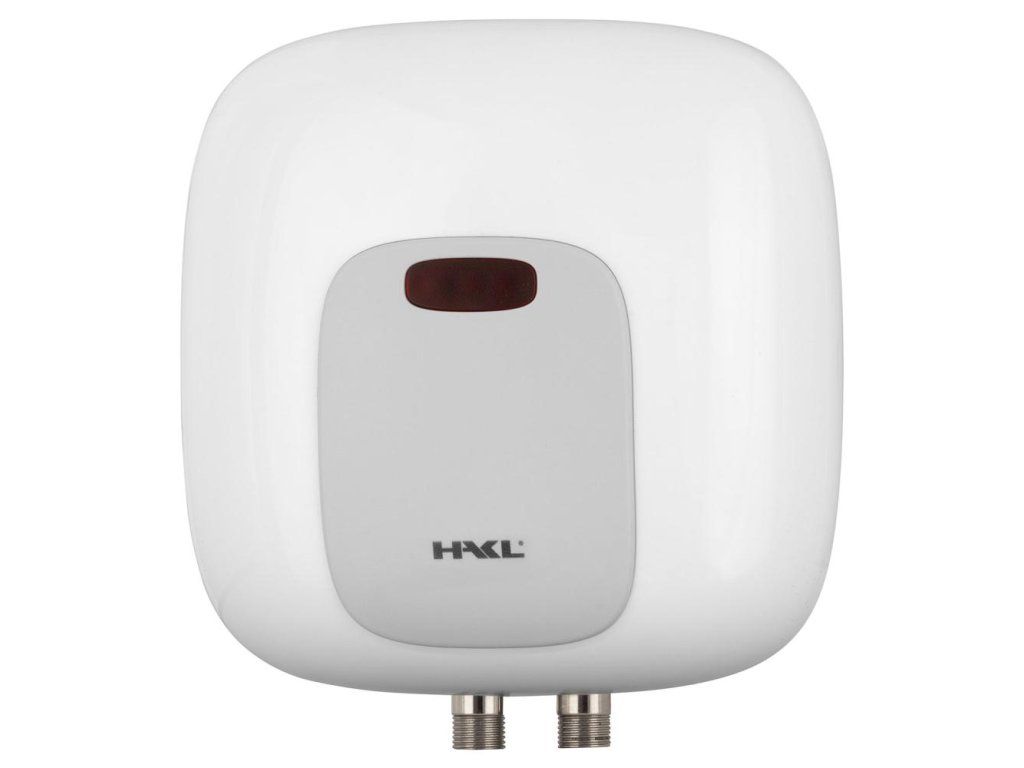 |
HAKL PL 4.5kW water heater - a somewhat more powerful variant for households with higher hot water demand in winter, when the cold water supply itself is colder and heating it is more demanding. Price from EUR 95.94. |
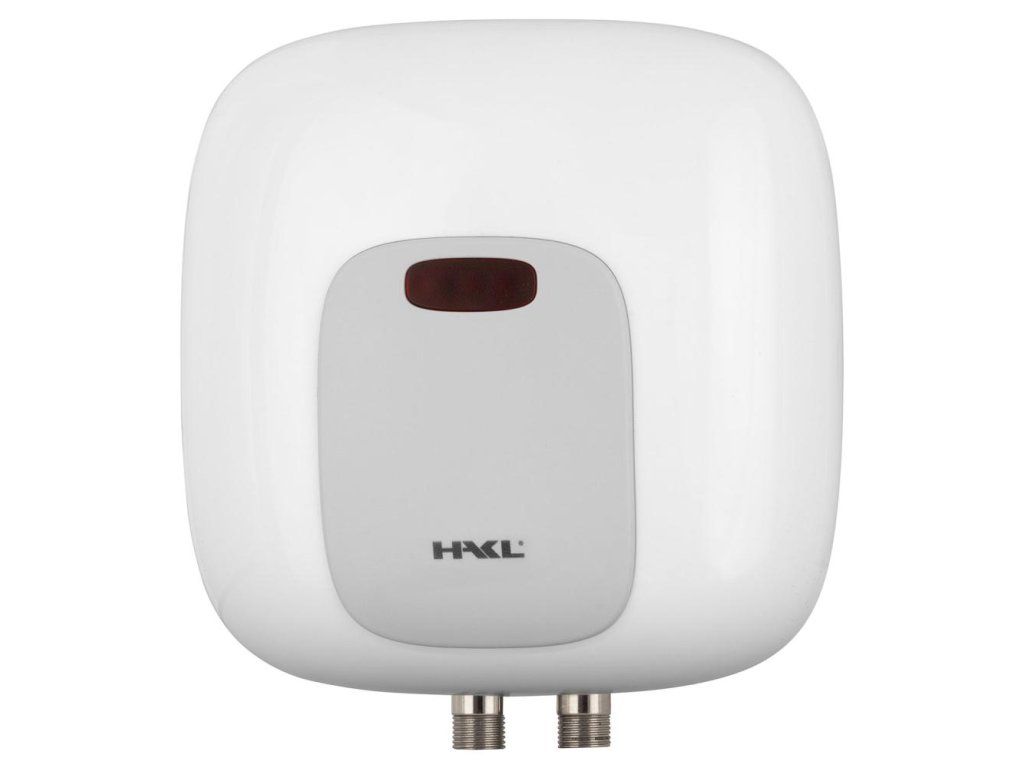 |
HAKL PL 5.5kW water heater - the most powerful in the range, suitable where hot water demand is higher (more points of use) and where it's worth having a reserve of output even on the coldest days. Price from EUR 95.94. |
These water heaters obviously don't directly solve the ice problem on the roof, but they belong in the same category of thinking - "where else does frost cause damage that can be prevented with a small investment beforehand". Combining a roof heating cable with frost-protected water heating in utility spaces is a common package of measures we recommend to customers with cabins or houses with an unheated garage before every winter season.
Service life and maintenance of the cable
A properly installed resistance cable on a roof lasts many years under normal use, since it has no moving mechanical parts to wear out. The most common cause of premature failure isn't the cable itself, but mechanical damage - for example from careless clearing of leaves out of a gutter with metal tools, a falling branch, or an unqualified intervention on the cable's route after installation. We therefore recommend a visual check before every season (ideally in autumn, before the first frost) to make sure the cable isn't pinched, cut or pulled out of its original route anywhere, along with a functional test by briefly switching it on manually as described above. This check takes a few minutes and can catch a problem before the frost arrives and the damage shows up as a frozen gutter instead of as a visible fault on the cable.
For self-regulating cables, as the years go by (typically after 10-15 years of operation) the conductive polymer can degrade slightly and the cable's output drops a little - this isn't a sudden failure, but a gradual decline in efficiency, which can be noticed during a regular autumn check (the cable heats up more slowly or less intensely than in previous years).
Frequently Asked Questions
Does the cable have to be switched on continuously all winter?
No, and it wouldn't be practical or cheap either. The cable is controlled by a thermostat, which switches it on only when the temperature drops below a set threshold (typically around +3 to +5 °C) and, ideally, only when the sensor also detects moisture or precipitation. As a result, the cable actually only runs during part of the frosty days in a season, not throughout the whole winter.
Can a resistance cable be installed on an existing roof without touching the covering?
Yes, in the vast majority of cases the cable is installed on an existing roof and gutter without needing to remove the covering - special clips and hooks designed specifically for fixing the cable to that type of covering (sheet metal, tiles, asphalt shingles) or into the gutter itself are used. Work on the covering itself is only needed in exceptional cases, for very specific roof constructions.
Is a self-regulating cable always the better choice over a constant-wattage one?
For roofs and gutters, yes, in most cases, mainly because of the safety benefit where the cable inevitably crosses itself in the gutter and downpipe, and because it automatically adapts its output to the current temperature. A constant-wattage cable makes more sense for simple, straight runs with no crossing, where a lower purchase price matters most.
Will a cable on the roof affect my insurance or the roof covering's warranty?
A cable installed according to the manufacturer's instructions (correct clips, no fixing directly with nails into the covering) normally doesn't affect the covering's warranty, since it doesn't involve any intervention in the roof material itself. However, we recommend checking this with the covering supplier or the roofing company that did the roof before installation, especially for newer roofs still under warranty.
How much electricity does a roof cable actually use per season?
It depends on the scope of the installation. For typical protection of just the gutters on a family house (for example the 30 metres of cable mentioned above), consumption is around 300 kWh per season, which at an electricity price of EUR 0.20/kWh is roughly EUR 60. Extending it to the downpipes only slightly increases consumption, to roughly 350 kWh (EUR 70). Protecting the whole roof including valleys can push consumption up to 600 kWh or more (EUR 120 or more).
Can the cable be added to or extended later, if the original length turns out to be insufficient?
With a self-regulating cable, this is easier, since it can be joined to another section of the same type using a special connector, or a separate additional circuit can simply be added for the spot that wasn't originally covered. With a constant-wattage cable, extending it is more complex, since it's supplied in fixed lengths with a factory-crimped end - in that case it's often easier to fit a completely new, separate section with its own connection than to modify the existing cable.
Related topics
- How to choose a heating resistance cable
- What cable output per m² do I need
- Installing a resistance cable
- Thermostats and control for resistance cables
- Maintenance and service life of resistance cables
- The most common resistance cable faults
You'll find the full range in the main category Resistance cables.
Have a question about this topic?
Can't decide, or dealing with a specific situation in your home? Write to us - we're happy to help.