
Resistance Cable vs. Heating Mats
If you're deciding between a resistance heating cable and a heating mat, you're essentially dealing with the same physical principle wrapped in two different forms. Both systems convert electrical energy into heat via the Joule effect - electric current passes through a resistance wire, which heats up. The difference isn't in "what" these systems do, but in "how" they're installed, where they pay off, and what limitations they bring with them. In this article we go through the differences in a practical way, using real figures we regularly come across in the shop and with customers.
What is a resistance heating cable
A resistance heating cable is a loose, flexible conductor (single-core, twin-core, or the so-called self-regulating type) that is laid loose directly at its destination during installation - most often in a layer of screed, in adhesive under tiles, or under a roof covering and in gutters. The cable isn't supplied "ready-made" in any shape - the installer decides the loop spacing according to the required output per square metre, which is its biggest advantage and its biggest disadvantage at the same time.
Advantage: you can "assemble" the cable exactly to fit an irregular floor plan, work around a bathtub, toilet, kitchen unit or other furniture that shouldn't be heated. Disadvantage: installation requires more planning, calculating the cable length, designing the spacing, and usually more experienced hands too, since the cable has to be mechanically fixed during installation (mounting strips, mesh) so it doesn't shift when the screed is poured.
A typical resistance cable for floor heating delivers an output of roughly 15-20 W per running metre of cable. The actual output per area (W/m²) then depends on the chosen spacing - at an 8 cm spacing you actually get an area output of around 130-150 W/m², at a 12 cm spacing more like 90-110 W/m². This adjustability is exactly what sets a cable apart from a mat.
What are heating mats
A heating mat is essentially the same resistance cable, except the manufacturer has already stuck (stitched) it at a precise spacing onto a mesh of defined width, usually 50 cm. You buy it "by the metre" like a carpet roll - you choose the roll length according to the room area and unroll it across the floor. The mat's output is always fixed by the manufacturer and is usually around 150-160 W/m², which is enough for comfortable supplementary heating of the floor under the tiles (not as the sole heat source for a whole house).
The main advantage of a mat is speed and simplicity of installation - you just unroll it, cut the mesh where needed on curves (never the cable itself) and turn the strip back the other way, fix it to the substrate with tape, and cover it with a thin layer of adhesive directly under the tiles. The mat's thickness is only about 3-5 mm, so it practically doesn't raise the floor build-up height - ideal for renovations where you have no height reserve to spare.
The disadvantage is the opposite of the cable's: a mat has fixed loop spacing, so it can't easily be adapted to a very irregular floor plan without generating more material waste, and it pays off the most in small rooms (typically 4-8 m² bathrooms) - for larger areas above 15-20 m², the material cost rises faster than for a loose cable.
How the system works - the principle
To explain why it's even worth going into the difference between the two variants, let's first look at the principle they share. Electric current passes through a resistance wire, which offers resistance to the current - by Joule's law, part of the electrical energy is converted into heat directly in the conductor. This heat is then transferred into the surrounding material (screed or adhesive), from where it gradually passes through the tiles into the room.
So the difference between a cable and a mat isn't in the physics, but in who determines the conductor spacing and when - with a cable, the installer does it on site according to the design; with a mat, the manufacturer has already done it at the factory. Practically all the other differences discussed below follow from this.
Direct comparison - key parameters
The table below summarises the most important operating and installation parameters of both systems, as you'll commonly encounter them in typical apartment or house installations.
The table shows this is a typical trade-off between flexibility and simplicity. A cable gives you freedom in the design, but requires more planning and installation time. A mat is faster and cheaper to install for a small area, but for a large area the material cost rises faster and it can't as elegantly "work around" obstacles in the floor plan.
When a cable pays off and when a mat does
In practice we see two clearly separate scenarios in which customers reach for one solution or the other. It's no coincidence - it follows directly from the parameters above.
A resistance cable pays off when:
- You're renovating or building a floor with a larger area (above roughly 15 m²) - a living room, kitchen, hallway.
- The floor plan has a lot of obstacles - built-in furniture, a fireplace, an island kitchen unit - and you need to elegantly "work around" unheated spots with the cable.
- It's a new build where you have enough reserve in the floor build-up for a screed layer (30-50 mm) and want to design the output precisely according to the room's heat loss.
- You want to use the cable outdoors as well - for example for de-icing gutters and roofs, where the spacing and output differ from floor heating and a mat is essentially never used there at all.
A heating mat pays off when:
- You're renovating a smaller room, typically a bathroom (4-10 m²), and don't want to raise the floor height by more than a few millimetres.
- You need a quick installation without a complex calculation - for example when doing a bathroom yourself and don't want to work out the cable spacing.
- The floor plan has no major obstacles, so the mat roll can be unrolled almost as one piece.
- You're supplementing floor heat under the tiles alongside an existing main heat source (radiators, a heat pump) - here a mat works more as a comfort add-on for a "warm floor underfoot", not as the sole heat source.
Step-by-step installation - differences in the procedure
The installation procedure is where the difference between the two systems shows up the most. For a resistance cable, you proceed as follows: first the substrate is prepared and cleaned, then the loop spacing is measured out according to the design and the cable is mechanically fixed with mounting tape or a mounting rail (spacing usually 8-12 cm depending on the required output), then the cable's insulation resistance is measured and recorded before pouring (checking that the cable wasn't mechanically damaged during installation), after which the screed is poured to a thickness of roughly 30-50 mm above the cable, and only once it has fully cured and the resistance has been re-tested are the tiles laid.
For a mat, the process is simpler: the substrate is prepared the same way, the mat is unrolled across the room (only the mesh is cut on the bends, never the resistance wire itself, and the strip is turned back the other way), the mat is fixed to the substrate (tape or lightly pressed into a thin layer of adhesive), the insulation resistance is measured, and then a thin layer of adhesive (3-5 mm) is applied directly and the tiles are laid. The "pour the screed" step and the time needed for it to dry are missing here, which is the main reason mat installation is faster and takes less overall time waiting for follow-up work.
What most people get wrong when choosing
The most common mistake we come across is the idea that a mat is "better" because it installs faster. Faster installation doesn't mean a better result - on a larger area with lots of obstacles, a mat will cause needless material waste and spots where the mesh has to overlap or be cut too often, which can locally disrupt the output. Conversely, in a small bathroom a resistance cable is often needlessly complicated - you have to work out a spacing design for an area where the real comfort difference compared with a mat is barely noticeable.
The second common mistake is underestimating the layer above the heating element. For a cable in screed, it's important to maintain a minimum covering (usually at least 30 mm above the cable), otherwise there's a risk of local overheating and damage to the tiles or the cable itself during later building work (for example when drilling into the floor for a skirting board). For a mat, the risk is different - too thick a layer of adhesive above the mat (above the recommended 5-8 mm) slows down the heat-up time and reduces efficiency.
The third mistake relates to underestimating the thermostat and floor sensor - more on that in a separate article on controls, but in short: without a quality floor thermostat that limits the maximum screed temperature, both systems risk overheating and unnecessary energy consumption.
Safety, standards and protective devices
Both systems must be connected via a dedicated circuit breaker, and a residual current device (RCD) with a 30 mA tripping current is also recommended, since this is equipment permanently embedded in a damp environment within building material. Before pouring the screed or adhesive, it's essential to measure and record the cable's insulation resistance (a value above 20 MΩ is typically required) - this measurement is your only safeguard that the conductor wasn't mechanically damaged during installation before you permanently embed it. It's also recommended to repeat the measurement after pouring and before laying the tiles.
It's also important that neither a heating cable nor a mat may cross over itself or overlap - this applies equally to a loose cable and to cutting and turning a mat at bends. Overlapping creates a local spot with a much higher output over a small area, which can lead to overheating and damage.
The connection to hot water heating in a bathroom
A bathroom renovation, where we most often come across heating mats, is also a common opportunity to sort out hot domestic water at the same time, especially if the bathroom isn't connected to a central source or is too far from it, making the wait for hot water uncomfortable. In that case, alongside the floor heating it's worth considering a small electric water heater directly under the sink or near the shower.
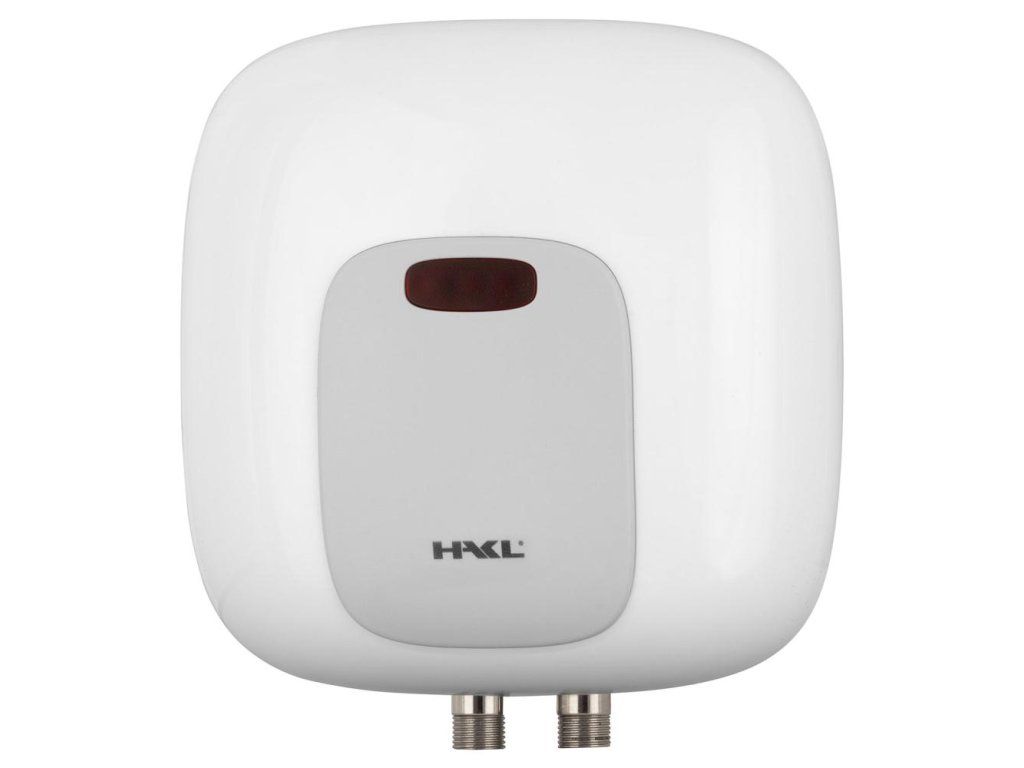 |
HAKL PL 3.5kW water heater - the smallest output in the range, suitable as a supplementary hot water source right in a bathroom with floor heating, when you're tackling the renovation comprehensively and don't want to wait for hot water from a central source. Price from EUR 95.94. |
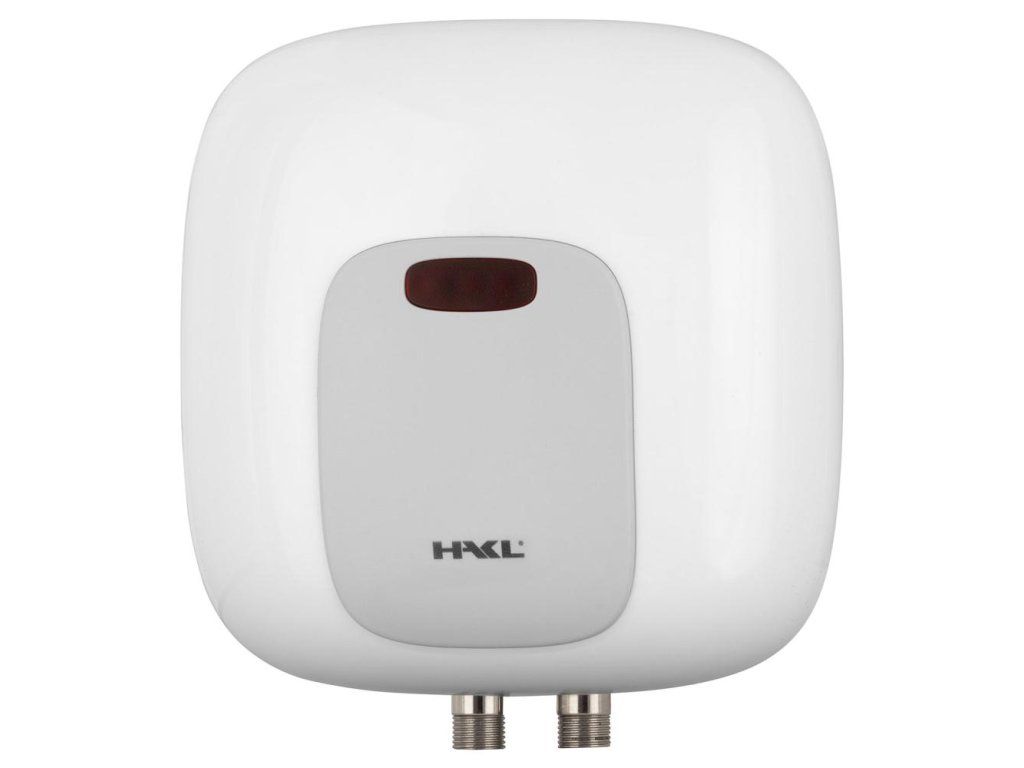 |
HAKL PL 4.5kW water heater - a medium output, suitable for a bathroom with higher hot water use (more household members); just like floor heating, it's a solution worth planning as part of a single renovation phase, not added on afterwards. Price from EUR 95.94. |
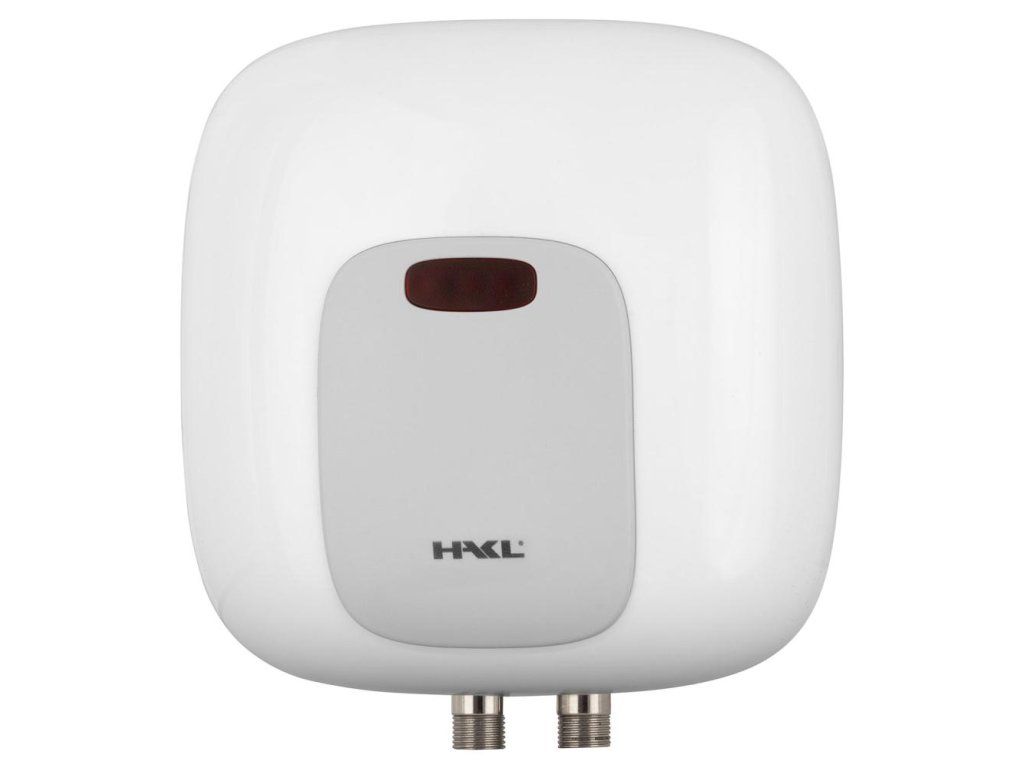 |
HAKL PL 5.5kW water heater - the highest output in the compared range, suitable where hot water demand is higher or the cold water supply is colder (for example in winter months). Just as with choosing between a cable and a mat, the right output should be chosen based on actual demand, not on the cheapest option. Price from EUR 95.94. |
This detour isn't random - in practice we see that customers dealing with floor heating via a mat in a small bathroom usually have the same motivation when it comes to water heating too: they want comfort without touching the whole house's central heating system. Both products (the mat and the small electric water heater) complement each other in this case.
Maintenance and service life
Both systems are practically maintenance-free when installed correctly, and their service life is usually stated as 20-25 years, since it's a statically installed conductor with no moving parts. The most common cause of premature failure isn't wear on the cable itself, but mechanical damage during later building work - typically drilling into the floor or wall right above the installed heating element without the owner checking the design documentation or installation photos. That's why we always recommend requesting an exact layout drawing of the cable or mat from the installer before pouring, ideally with photos taken before it's covered.
Running costs - what it actually costs to operate
Material and installation cost is only one side of the decision - the other is what the system will cost you in normal operation. Since a mat's output (150-160 W/m²) is usually somewhat higher than a cable's area output at a typical spacing of 10-12 cm (100-130 W/m²), the mat itself has a higher instantaneous power draw for the same area. But that doesn't automatically mean higher monthly consumption - actual consumption mainly depends on how long the system runs on a given day (i.e. the thermostat's settings and whether it's the main or just a supplementary heat source), not just on the instantaneous output.
In practice, it works like this: in a well-insulated bathroom with a mat as supplementary floor heating, the thermostat usually switches the system on for only part of the day (for example morning and evening, 3-5 hours in total), so actual daily energy consumption stays reasonable despite the higher instantaneous output. Conversely, for a cable serving as the main heat source of a larger room, the daily runtime may be longer, but the lower area output partly offsets that consumption. An exact comparison therefore always depends on the specific room, its heat losses and how the control is set - a blanket statement that "a cable is cheaper to run" (or the opposite) would be misleading without knowing the specific conditions.
One practical recommendation, however, holds true universally for both systems: investing in a quality thermostat with weekly programming pays for itself faster than any saving from picking the "cheaper" type of heating element. A thermostat that can automatically switch the system off outside the usual hours the bathroom or living room is used will save significantly more energy over the year than any difference between the cable and the mat themselves.
Summary - how to decide
If you're dealing with a small room (typically a bathroom up to 15 m²), have no reserve in floor height and want a quick installation without a complex design, go for a heating mat. If you're dealing with a larger area, an irregular floor plan with obstacles, a new build with a sufficient screed thickness, or need a cable outdoors too (gutters, roofs), choose a loose resistance cable. Both systems have comparable service life and safety when installation principles are followed - the difference is purely in which solution fits your specific space.
Frequently Asked Questions
Can a cable and a mat be combined in the same apartment?
Yes, this is commonly done - for example a cable in the living room and hallway (large area, new build) and a mat in the bathroom (small area, renovation). These are two independent circuits, usually each with its own thermostat, so combining them isn't a technical problem.
Can a resistance cable or mat be the sole heat source for a whole house?
At a typical output of 90-160 W/m², this is only possible in very well-insulated new builds with low heat loss. In most typical renovations and older houses, both systems are used more as supplementary/comfort floor heating alongside a main source (a boiler, heat pump, radiators).
What happens if the cable or mat gets damaged after pouring?
Repair is possible, but requires precisely locating the fault (using specialised measurement) and then breaking up the screed or tiles at that spot. That's why it's so important to have exact documentation of the layout and to carry out the insulation resistance measurement before pouring - this avoids unnecessary repairs shortly after installation.
Is the loop spacing for a cable really that important?
Yes - it's the only parameter that can actually be used to change the output per m² with a loose cable. Too wide a spacing means insufficient output and cold spots on the floor; too narrow a spacing means needlessly high consumption and a risk of local overheating. An exact calculation should be part of the design before buying the material.
Do I need a special thermostat for both systems?
A thermostat with a floor sensor (or a combined room and floor sensor) is recommended, which limits the maximum temperature of the screed or adhesive - usually to 27-35 °C depending on the type of covering. Without this limit, both systems risk unnecessary consumption and a risk of tile damage from prolonged overheating.
Is a mat worth using on an area larger than 15 m² if I already have one left over from another room?
Technically yes, a mat works the same way on a larger area, it just works out more expensive in materials than a cable, and an irregular floor plan generates more waste from cutting the mesh. If you're planning several rooms of different sizes and shapes, it's worth going through both options with a building/electrical contractor beforehand and comparing the actual material cost for each room separately.
Related topics
- How to choose a heating resistance cable
- What cable output per m² do I need
- Installing a resistance cable
- Thermostats and control for resistance cables
You'll find the full range in the main category Resistance cables.
Have a question about choosing between a cable and a mat?
Can't decide, or dealing with a specific situation in your home? Write to us - we're happy to help.