
How to Choose a Stainless Steel Manifold
If you're planning underfloor heating or a larger multi-room circuit system, sooner or later you'll come across the question of which manifold to choose. Stainless steel manifolds have long been among the most reliable options on the market, and over the last decade have become the standard for both new and renovated systems. In this article we go through, in practical terms, what to actually look for when choosing a stainless steel manifold - from the number of ways through flow meters to controlling individual circuits - and where it's worth paying extra and where it isn't.
What a manifold is and why stainless steel is a sensible choice
A manifold (sometimes also called a collector) is a device that distributes heat-transfer fluid from a single heat source - most often a boiler or heat pump - into several separate underfloor heating circuits or radiator branches. It always consists of two parallel pipes: the flow (delivers hot water from the boiler into the circuits) and the return (brings cooled water back to the boiler). Every circuit is connected to both rows at once, so it functions as a separate closed hydraulic loop within the larger system.
In terms of material, you'll commonly find three variants on the market - plastic manifolds (the cheapest, but less durable, and now almost never used in new builds), brass manifolds (a traditional, reliable solution, but heavier and more prone to limescale build-up), and stainless steel manifolds, which combine low weight, high corrosion resistance, and a smooth internal surface where debris builds up less easily. If you're wondering whether the price difference over brass is worth it, we've dedicated a separate comparison to this: Stainless steel vs. brass manifold. In this article we'll focus purely on how to choose the right stainless steel unit for your house.
How a manifold works within the whole system
Before we get into the parameters, it helps to have a clear picture of exactly where the manifold sits in the system and what passes through it. The simplified diagram looks like this: the heat source heats the water, it travels through the pipework to the manifold's flow row, from there it's split into individual underfloor heating circuits (commonly 2 to 12 circuits on one manifold), after passing through the circuit and transferring heat into the room, the cooled water returns to the manifold's return row and from there back to the heat source, where the cycle repeats.
This is exactly why a manifold is much more than just a "T-piece with several branches" - it's the control node of the whole system, where you can regulate flow, temperature, and which rooms heat and which don't. That's why it's worth choosing it carefully, not just by the lowest price.
Step 1: Add up the number of circuits
The first, and most important, question when choosing isn't "what material", but "how many ways do I need". The number of circuits isn't determined by the number of rooms, but by the floor's area and shape - a single underfloor heating circuit typically has a recommended maximum length of around 80-120 metres (varies with pipe diameter and pump resistance), so a larger or irregularly shaped room may need two separate circuits. The count also includes bathrooms, hallways, and any radiator branches, if connected to the same manifold.
We've covered the exact calculation procedure (including a sample conversion from area to metres of pipe and circuits) in a separate article, How many manifold circuits do I need. Here, let's just sum up the rule that's proven itself in practice for typical houses: always add one to two spare circuits to the calculated number. The reason is simple - buying a whole separate manifold for one additional circuit is far more expensive and complicated (another cabinet, more pipework, an extra pump or manifold set) than having one or two extra ways in the original manifold that you don't use yet, but which stay ready for, say, glazing a terrace in the future, adding a garage extension, or finishing an attic.
Stainless steel manifold construction - what it's made of
To judge the quality of a specific unit, it helps to know the individual components a stainless steel manifold typically includes:
- The manifold body - two parallel stainless steel rows (flow and return), usually with a 1" internal thread main connection and 3/4" Eurocone connections for individual circuits, which today is practically the universal standard for connecting underfloor heating pipe via compression fittings.
- Circuit spacing - the distance between individual connections on the manifold body, commonly 50 mm. This matters especially if you plan to add actuators and want to be sure the heads on the body won't physically get in each other's way.
- Flow meters - transparent regulating heads on the flow row, letting you visually see and set the flow in litres per minute for each circuit individually. This is a key element of hydraulic balancing, covered in more detail below.
- Ball valves with a thermometer - shut-off valves on both rows (usually at the start and end of the manifold), letting you disconnect the whole manifold from the system without draining the whole heating system, for example for servicing.
- Bleed valve - an automatic or manual valve at the highest point of the manifold that releases air that's built up in the system. Air in the manifold is one of the most common causes of bubbling and uneven heating.
- Drain (fill) valve - allows filling or draining a specific circuit without touching the rest of the system, valued especially for bleeding after installation or during repairs.
- Brackets and holders - mounting elements for anchoring the manifold in a cabinet or on a wall, standardly spaced to match common manifold cabinet dimensions.
A good-quality stainless steel manifold should include all these elements in the package, or at least have them easily available as compatible accessories. You'll find a complete overview of accessories (actuators, brackets, thermometer fittings, bleed kits) in the article Manifold accessories.
Flow meters and hydraulic balancing - why it matters
One of the most common mistakes we see in complaints and customer questions isn't a faulty manifold, but incorrect or completely missing hydraulic balancing. If circuits have different lengths (and they almost always do, since rooms have different areas), without balancing most of the water will go wherever resistance is lowest - i.e. into the shortest circuit. The result: a small bathroom is overheated, a large living room is cold, even though both rooms theoretically have the "same" heat source.
Flow meters on a good-quality stainless steel manifold solve exactly this - when commissioning the system (or during a service check), the flow in litres per minute is set on each circuit individually, based on the design documentation or an estimate from circuit length, balancing the system so heat is distributed according to each room's actual need, not according to which circuit has the least hydraulic resistance. If your circuits keep bubbling, underheating, or overheating, this is the first place to look for the cause - more detail in the article Most common manifold faults, and for the actual setup in the article Bleeding and setting up a manifold.
How many ways to choose, and what it means for price
Stainless steel manifolds are sold in various sizes by number of circuits - commonly from 2 to 12 ways, with the best-selling sizes for houses being 2- to 6-way units (larger houses or multi-storey systems then combine several manifolds). Price rises roughly linearly with the number of ways, since each additional way means another flow meter, another ball valve, and more material. For example, in our range a 2-way manifold costs €53.68, a 3-way one €69.39, and a 4-way one €85.32. That means one extra way costs you roughly €15.64-15.93 - a matter of tens of euros, so significantly less than a whole second separate manifold with an extra cabinet and installation would cost. That's exactly why we recommended above allowing a margin when designing the number of circuits.
When choosing the size, it's also worth considering what cabinet the manifold will ultimately go into - cabinet dimensions are graded by number of ways and by the depth of the wall it's recessed into. You'll find a guide to choosing the right size in the article Manifold cabinets - what size.
Examples of suitable manifolds
 |
2-way stainless steel manifold for underfloor heating - suitable for a small flat, one larger room split into two circuits, or as an additional manifold for a separate extension (for example a bathroom and hallway). Price from €53.68. |
 |
3-way stainless steel manifold for underfloor heating - a good choice for a smaller flat with three rooms, or as a second manifold on the upper floor of a larger house. Price from €69.39. |
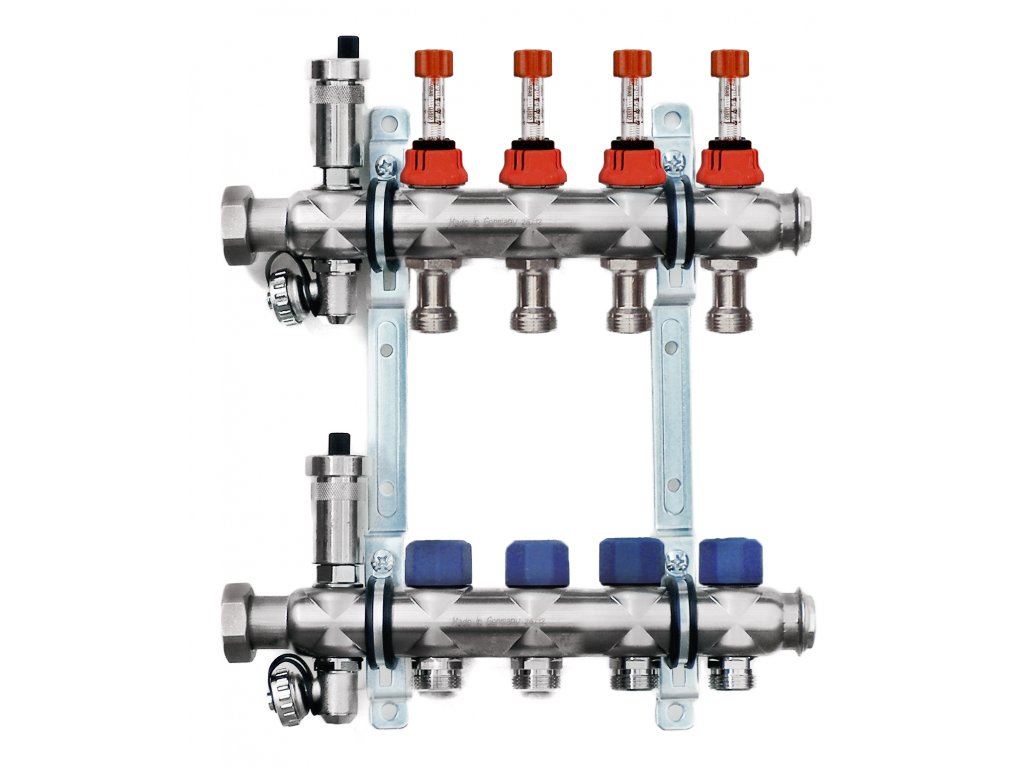 |
4-way stainless steel manifold for underfloor heating - our best-selling size for a typical house with four rooms connected to underfloor heating (living room, kitchen, two bedrooms, possibly with one spare). Price from €85.32. |
Controlling individual circuits - electrothermic actuators
The manifold itself, with flow meters, provides basic hydraulic balancing, but if you want to control each room independently via its own room thermostat (for example keeping the bathroom warmer than the bedroom, or having a setback mode in unoccupied rooms), you need an electrothermic actuator fitted on each circuit. It screws directly onto the flow meter or valve on the manifold and, on command from the room thermostat, opens or closes the flow in that circuit.
On the market you'll commonly find two voltage variants:
There's no real price difference between the two variants - both our actuators, 230 V and 24 V, cost the same, from €16.36. So the choice between them isn't a budget question, but a question of the whole control system's concept. If you're planning a simple system where each thermostat switches its actuator directly via 230 V, go for the 230 V actuator - it's a simpler wiring setup with no need for an extra transformer. If, on the other hand, you're building a centralised control system (for example with one control unit for the whole house, several room thermostats wired to a shared bus, or wireless control), you'll almost always be working with safe low voltage 24 V, requiring a single central transformer for all actuators on the manifold.
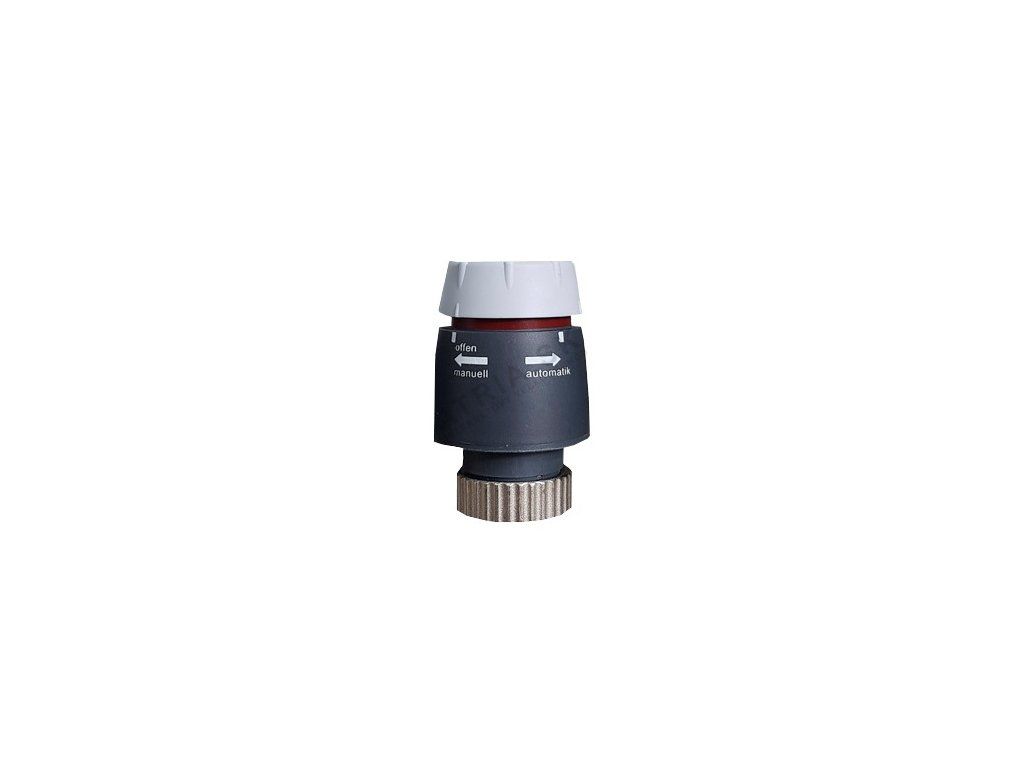 |
Electrothermic actuator 230 V - a simple solution with no need for an extra transformer, direct connection to a room thermostat via mains voltage. Suitable for typical simpler wiring. Price from €16.36. |
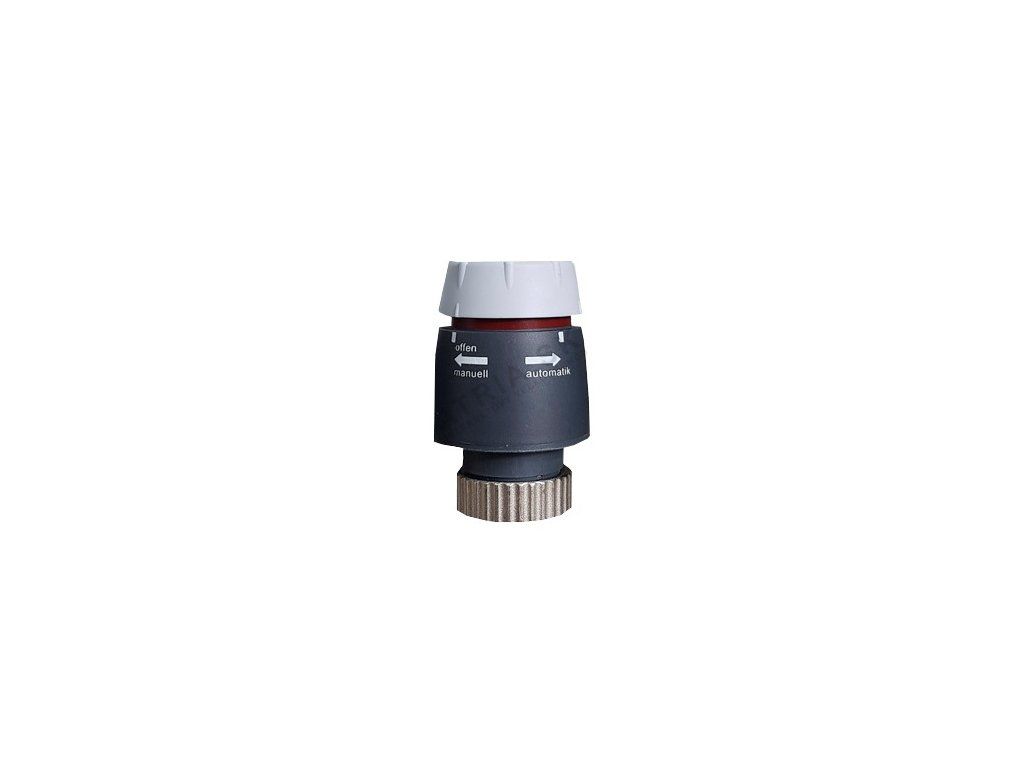 |
Electrothermic actuator 24 V - safe low voltage, suitable for centralised control systems and spaces with higher humidity. Requires one shared transformer for the whole manifold. Price from €16.36. |
The full control chain also includes a room thermostat, which measures the actual temperature in the room and switches the corresponding actuator based on the set value. As an example of a commonly used thermostat in our range, we can mention Avansa 2003 - a simple room thermostat suitable for controlling an underfloor heating circuit together with an electrothermic actuator, priced from €20.05. When designing your controls, always check that your thermostat and actuator have compatible voltage (a 230 V thermostat with a 230 V actuator, 24 V with 24 V), otherwise the system won't work, or a component could be damaged.
The selection procedure - summarised in five steps
Summarising the whole process into a clear sequence, choosing a stainless steel manifold for a typical house goes like this:
Cabinet and installation
The manifold itself is almost always installed into a manifold cabinet - either recessed into the wall or surface-mounted. The cabinet needs sufficient depth and width for the given number of ways, and should remain accessible for future servicing (bleeding, topping up, replacing an actuator). You'll find specific recommendations by number of circuits and wall thickness in the article Manifold cabinets - what size.
A few basic principles apply during installation itself - the manifold is fitted horizontally, with sufficient pipe slope towards the bleed valve, taking flow direction into account (flow at top, return at bottom is common, though not the only convention - it depends on the specific product), and with shut-off valves at both ends so the manifold can be disconnected in the future without draining the whole system. You'll find a detailed step-by-step installation procedure, including typical mistakes to avoid, in the article Installation and connection of a manifold.
Maintaining a stainless steel manifold
One advantage of stainless steel is low maintenance need compared to brass - the smooth surface limits limescale build-up, and stainless steel doesn't oxidise even in contact with ordinary heating water. Even so, it's worth checking bleeding once a year, ideally before the heating season, verifying the ball valves turn freely, and visually checking the flow meters for any shift in the balanced setting. You'll find a detailed guide to regular maintenance in the article Maintenance of a stainless steel manifold.
What to watch out for when comparing offers
When comparing specific products from different sellers, we recommend checking these points in particular, since this is exactly where the difference between a cheap and a good-quality unit usually hides:
- Whether the package includes the mounting bracket/holder, or whether it's bought separately.
- Whether the manifold has transparent flow meters with individual adjustment for each circuit, not just simple shut-off valves.
- What the connection spacing is - with 50 mm spacing you can be sure that standard electrothermic actuators won't physically press against each other.
- What the body material is - a "stainless steel" manifold should have a stainless steel body on both rows, not just a nickel-plated surface.
- Whether the ball valves are also fitted with a thermometer - a big advantage for servicing and fault diagnosis, since you can immediately see the flow and return temperature without needing an extra measuring device.
If you're not sure how many circuits you'll ultimately need, or you're torn between two sizes, we recommend slightly overestimating the number of ways - the price difference between neighbouring sizes is roughly €15-16, while buying a second separate manifold later means another cabinet, more pipework, and more work on an already-finished installation.
Frequently asked questions
Is a stainless steel manifold really better than a brass one, or is it just marketing?
The difference is real, not just marketing - stainless steel is lighter, more corrosion-resistant, and has a smoother internal surface where debris and limescale build up less easily. Brass remains a fully functional, proven material, but requires a bit more attention to maintenance in harder water. You'll find a detailed comparison in the article Stainless steel vs. brass manifold.
Can I connect both radiators and underfloor heating to one stainless steel manifold?
Yes, as long as the system is designed with correct temperature control for both heating types (radiators typically need hotter water than underfloor heating), which is usually handled with a separate mixing station for the underfloor circuits ahead of the manifold. The manifold itself allows this hydraulically - what matters is correctly preparing the water temperature before it.
How many circuits is "too many" for one manifold?
Common stainless steel manifolds are made up to 12 ways. For a larger number of circuits (more extensive houses, multiple floors), several separate manifolds are usually installed, positioned closer to the individual zones of the house, which shortens pipe runs and reduces heat loss from moving water over longer distances.
Do I need an electrothermic actuator on every circuit, or is a flow meter enough?
A flow meter provides basic hydraulic balancing (evenly distributed flow), but on its own it doesn't switch the circuit on or off based on the current room temperature. If you want each room controlled independently by its own thermostat (for example at night, or for an unoccupied room), you need an electrothermic actuator on that circuit. Without actuators the system will still work, but all circuits will heat "together" based on one main thermostat or the boiler's weather-compensation curve.
Besides voltage, what's the difference between a 230 V and a 24 V electrothermic actuator?
There's no price difference - both cost the same with us, from €16.36. The difference is in the wiring concept: a 230 V actuator connects directly to mains voltage without a transformer, which is simpler for a smaller number of circuits with simple thermostats. A 24 V actuator needs a safety transformer, but offers lower voltage on the wires running to the individual actuators, which is preferred for centralised control systems or damper spaces.
Can a stainless steel manifold be added to an already-finished system?
Yes, as long as the pipework is accessible and there's room for a cabinet or surface mounting. This is a common upgrade during renovations, especially when an original plastic or undersized manifold is being replaced with a better-quality stainless steel unit with better hydraulic balancing. We recommend leaving this job to an experienced installer, since it requires partially draining the system and reconnecting the pipework - the procedure is described in the article Installation and connection of a manifold.
Related topics
- How many manifold circuits do I need
- Stainless steel vs. brass manifold
- Installation and connection of a manifold
- Manifold accessories
- Manifold cabinets - what size
- Maintenance of a stainless steel manifold
You'll find the full range of stainless steel manifolds in the category Stainless steel manifolds.
Do you have a question on this topic?
Can't decide, or dealing with a specific situation in your home? Write to us - we're happy to help.