
Toilet Seats and Lids - How to Choose
Toilet Seats and Lids – How to Choose the Right One for Your Bathroom
A toilet seat is one of those products most people think about exactly once every few years – when the old one cracks, gets wobbly, or simply wears out. That's exactly why the choice is often made in a hurry, at the last minute, and the result is a seat that doesn't fit right, creaks after three months of use, or won't tighten properly onto the bowl. Yet the differences between individual seat types are surprisingly large – in material, in the hinge/closing mechanism, in how it's mounted, and in how long it actually lasts. In this article we'll go step by step through everything you need to know to choose a seat that fits your toilet bowl on the first try and will serve you for years without unnecessary creaking, loosening or breaking plastic wings.
Why a Toilet Seat Matters More Than You'd Expect
A toilet seat is a fixture we come into physical contact with several times a day, yet we pay it minimal attention when choosing. In practice, it turns out that this small detail can significantly affect the comfort of the whole bathroom. A cheap seat made of thin plastic starts to bend after a few months of intensive use, creaks when you sit down, and play develops at the hinges, causing an unpleasant rattling. A higher-quality duroplastic seat, on the other hand, holds its shape even after years, doesn't yellow, and withstands common cleaning agents without scratching or losing its shine.
The second reason to spend time on this topic is safety and hygiene. A seat with poor-quality hinges eventually loosens to the point where it shifts sideways when sitting down – which is unpleasant especially for children and older household members. Seats with an antibacterial surface treatment, on the other hand, significantly limit bacterial growth in the microscopic gaps that form faster than you'd think on cheaper plastics. The third, purely practical reason is compatibility – not every seat fits every bowl, and mistakenly buying the wrong shape or screw spacing means an unnecessary trip back to the store.
Toilet Seat Materials: Duroplastic, Plastic, Wood and MDF
Today the market commonly offers four basic material groups, and within each there are several quality levels. Let's go through them one by one, including the real approximate prices you'll encounter in stores.
Hard Plastic (Polypropylene)
The cheapest and most widespread category, typically in a price band of roughly €8 to €15. It's a simply shaped plastic, usually without any notable surface decoration. The advantage is a low price and easy replacement – if you need to replace a broken seat quickly and cheaply, this is the fastest route. The disadvantage is a shorter lifespan, usually 3 to 5 years with normal household use, and a tendency to bend under higher load. This type also more often lacks soft-close, so the seat bangs against the bowl when it drops.
Duroplastic
Duroplastic is a hardened plastic made by curing resin at high temperature, producing a material with higher hardness, scratch resistance and color stability even after years of exposure to UV radiation and cleaning agents. The price is typically between €25 and €45, slightly higher for seats with a soft-close mechanism. Lifespan under normal use is usually 8 to 12 years, making it the best price-to-durability ratio among commonly available materials. Duroplastic seats also better withstand repeated sitting and standing without becoming wobbly over time.
Wood and Lacquered MDF
Wooden or MDF seats with a multi-layer lacquer finish feel cozier and in some bathrooms match the overall interior better (for example with wooden panels around the tub or wooden furniture elements). The price is around €18 to €30. The disadvantage is sensitivity to moisture if the lacquer is damaged – if the surface layer is compromised (for example by abrasion or long-term exposure to moisture at a leaky spot), the wood underneath can gradually swell. With quality lacquering and normal care, however, these seats typically last 5 to 7 years.
There's also a fourth, marginal category – seats made of stainless steel or special composites intended mainly for public spaces (restaurants, businesses, kindergartens), but these are bought for ordinary households only exceptionally, due to the higher price and more austere look.
Shape and Dimensions: Standard, Compact, D-Shape, O-Shape
Shape compatibility is the most common reason people order a seat and then have to return it. On the market you'll mainly encounter two shapes:
O-shape (oval, classic) – rounded all the way around, typical for older toilet bowls and most standard mid-range models. Total seat length is usually around 44 to 46 cm, width around 36 to 38 cm.
D-shape (more angular, "duroplastic" design) – rounded at the front, slightly flattened at the back into a shape resembling the letter D, common on modern design toilet bowls. Dimensions tend to be slightly smaller, typically 43 to 45 cm in length.
Besides shape, there's also a compact version of the seat (2 to 4 cm shorter), intended for small bathrooms or shortened-body toilet bowls, where a standard seat would protrude too far forward and get in the way when walking around the room.
Just as important as the overall shape is the spacing of the mounting holes on the back of the bowl – that is, the distance between the two holes through which the seat is screwed to the bowl. The most common values are 140 mm and 160 mm, with most modern universal seats having adjustable mounting within exactly this range (sliding screws that can be set to the exact distance). With older or non-standard bowls, however, you may encounter other spacings, so measuring before buying is genuinely an important step, which we'll cover in a separate chapter below.
Soft-Close Mechanism – Is the Extra Cost Worth It?
Soft-close (dampened, slowed-down lowering) is today the most sought-after feature when choosing a new seat, and for good reason. A classic seat without damping bangs against the bowl when it drops, which over time stresses both the hinges and the bowl itself, and in an apartment with thinner partition walls the sound is surprisingly loud, especially at night. Seats with a soft-close mechanism contain a piston or spring damper in the hinge, which significantly slows the last third of the movement, so the seat lands quietly without impact.
The surcharge for this feature is in practice roughly €10 to €15 compared to the same model without damping (in our comparison above that corresponds to the difference between ordinary duroplastic at €25-45 and duroplastic with soft-close at €35-60). The disadvantage of the soft-close mechanism is that it's a mechanical part, which can wear out or lose its damping effect after years of use – with better branded models, however, this is rare and usually happens only after many years of intensive use. When choosing, we recommend favoring models where the damping mechanism is integrated directly into the hinge as a metal or quality plastic part, not as a cheap add-on "rubber bumper" that eventually tears out.
Mounting System: Bottom-Fix vs. Top-Fix, Quick-Release
The way a seat is attached to the bowl mainly affects how comfortable it is to clean, and also how easily you'll replace it in the future.
Bottom-fix is the classic and most widespread method – screws pass through the seat from above and are tightened with nuts from below the bowl. It's the most stable solution, but slightly less convenient when cleaning the space under the hinges, since the seat can't simply be removed without tools.
Quick-release system lets you remove the seat from the bowl without a screwdriver, with a simple pull of the latch on the hinge. It's practical especially for regular thorough cleaning or when the seat is changed over time – most modern mid and higher-tier seats already offer this option as standard.
Top-fix is a newer system where the entire fastening – including screws and nuts – is located above the level of the bowl, visible only from above. The advantage is a cleaner look from below (no protruding nuts under the bowl) and easier installation, since you don't have to reach under the bowl into a cramped space.
Additional Features: Antibacterial Treatment, Bidet Function, Lighting
Besides basic parameters, manufacturers also offer a range of additional features that raise the price but can be genuinely useful in specific situations.
Antibacterial surface treatment – additives (most often silver-based or ion-based) are added to the plastic or lacquer to limit bacterial growth directly on the seat's surface. This is a meaningful benefit especially in households with small children, allergy sufferers, or where use by several people is more frequent.
Bidet/washing function – a significantly more comfortable, but also substantially more expensive category (electronic bidet seats with water heating, warm-air drying and remote control). These models also require a connection to the electrical network and a water supply, so installation is more demanding than a regular seat and it's advisable to leave it to an installer.
LED orientation lighting – some models have a weak LED backlight built into the seat body that activates when there's movement in the dark. This is more of a nice-to-have than a necessity, but in households where the toilet is also used at night without turning on the main light, it's a pleasant detail.
Adjustable drop dampers on some more expensive models let you fine-tune the closing speed – useful if the standard damping feels too slow or, conversely, too fast for you.
How to Correctly Measure a Toilet Bowl Before Buying a Seat
Measuring takes literally two minutes, but saves you a potential complaint and waiting for a replacement. Proceed as follows:
1. Measure the distance between the centers of both mounting holes on the back of the bowl (most often 140 or 160 mm, sometimes different on older or non-standard models).
2. Measure the total length of the bowl from the back edge (where the seat is mounted) to the farthest point at the front.
3. Measure the greatest width of the bowl at its widest point.
4. Check the shape – compare whether your bowl is more oval (O-shape) or more angular with a flattened back edge (D-shape).
5. If bathroom space is limited and the seat would extend into the walkway, consider a compact version instead of the standard length.
Write down these four or five numbers, or photograph them right at the bowl – when ordering online, it's worth comparing them with the dimensions stated in the product description, not just relying on a "universal" seat fitting everything. What's truly universal is only the screw spacing (typically adjustable in the 140-160 mm range) – shape and length are not universal.
Toilet Seat Installation – Step-by-Step Guide
Replacing a seat is one of the simplest maintenance jobs in the bathroom, and most people can manage it in under ten minutes without professional help.
Step 1 – removing the old seat. Open the screw covers on the back of the seat (usually plastic caps that can be flipped open with a fingernail or a flat screwdriver). Hold the nut from underneath the bowl and unscrew the screw from above. With older or corroded screws, the nut sometimes spins along with the screw – in that case it helps to hold the screwdriver from above and turn the nut with a wrench from below, or simply cut the screw with small pliers, since you're replacing the seat anyway.
Step 2 – cleaning the surface. Before installing the new seat, thoroughly clean the area around the holes, where limescale and dirt tend to accumulate long-term and could prevent the new seat from seating properly.
Step 3 – adjusting the spacing. With universal seats with adjustable spacing, first place the seat loosely on the bowl and slide the screw holders exactly into position above the holes, only then pass the screws through.
Step 4 – tightening. Tighten the screws evenly on both sides so the seat sits straight and isn't skewed to one side. Tighten firmly, but without excessive force – with plastic nuts, over-tightening can damage the material.
Step 5 – checking functionality. Lower and raise the seat several times, check that it doesn't wobble sideways and that the soft-close mechanism (if the seat has one) dampens the movement evenly on both hinges.
Common Selection and Installation Mistakes
Working with dozens of customer questions and complaints, the same mistakes come up repeatedly:
Buying by eye, without measuring. The most common mistake – the customer estimates that the seat "looks the same as the old one" and orders it without measuring. Between D-shape and O-shape, the difference is small at first glance, but the seat then doesn't seat properly on the edge of the bowl.
Overlooking screw spacing. With older bowls (especially those older than 15-20 years), non-standard spacings outside the common 140/160 mm sometimes occur – in that case you need a seat with the widest adjustable range, or to contact the seller with the exact dimension.
Over-tightening plastic nuts. This leads to a cracked holder, especially with cheaper plastic parts. The recommended procedure is to hand-tighten firmly and finish with only a gentle turn with a wrench, not full force.
Ignoring shape in favor of price. Some customers buy the cheapest available seat regardless of the bowl's shape and rely on it "fitting somehow". With an unsuitable shape, the seat either overhangs or doesn't seat on the full circumference of the bowl, causing instability and faster wear on the hinges.
Underestimating the damping mechanism in households with children. In households with small children, the soft-close mechanism is almost always worth it, since it significantly reduces the risk of pinched fingers when the seat drops.
Complete Bathroom Renovation – What Not to Forget Besides the Seat
Replacing a toilet seat is often just one part of a larger bathroom renovation, or at least a minor overhaul. If you decide to also address other supply and fixture elements at the same time, it's worth considering these related components too:
 |
Stainless steel expandable hose PROFI S for drinking water with stainless steel fittings - when replacing or installing a toilet cistern and the water supply to the flush mechanism, this expandable hose is a practical solution, since it can be set exactly to the needed length between the valve and the cistern without having to cut a rigid copper or plastic pipe. Price from 11.07 EUR. |
If you're also dealing with a bathtub or shower enclosure in the same bathroom, it's worth checking the condition of the bathtub trap too – old, leaking or mechanically worn traps are a common source of small water leaks precisely during complete bathroom renovations.
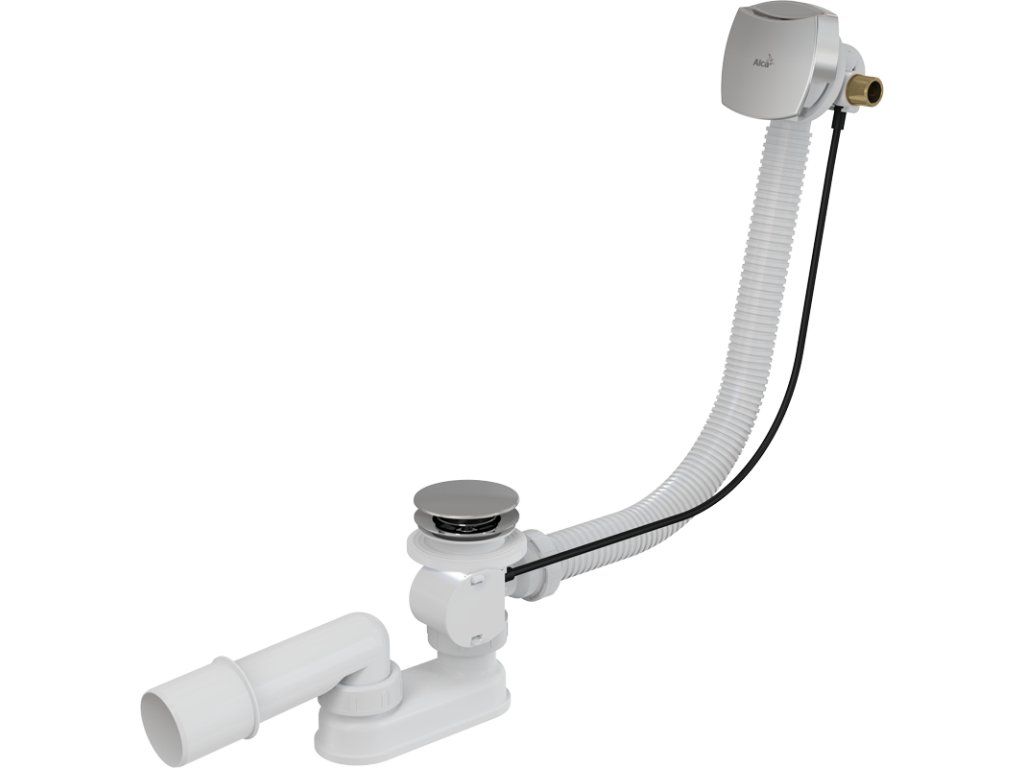 |
Automatic bathtub trap with overflow filling, chrome - if you're also dealing with a bathtub as part of a bathroom renovation, a quality automatic trap with overflow is just as important a component as the toilet seat itself - it prevents overflow and simplifies draining without having to reach the bottom of the tub. Price from 102.08 EUR. |
For larger renovations, where multiple supply lines are being changed at once or new fixtures are being connected, it's also worth checking the water pressure entering the apartment or house. Fluctuating or too-high pressure stresses not only the toilet's flush mechanism, but also the faucets and hoses throughout the bathroom:
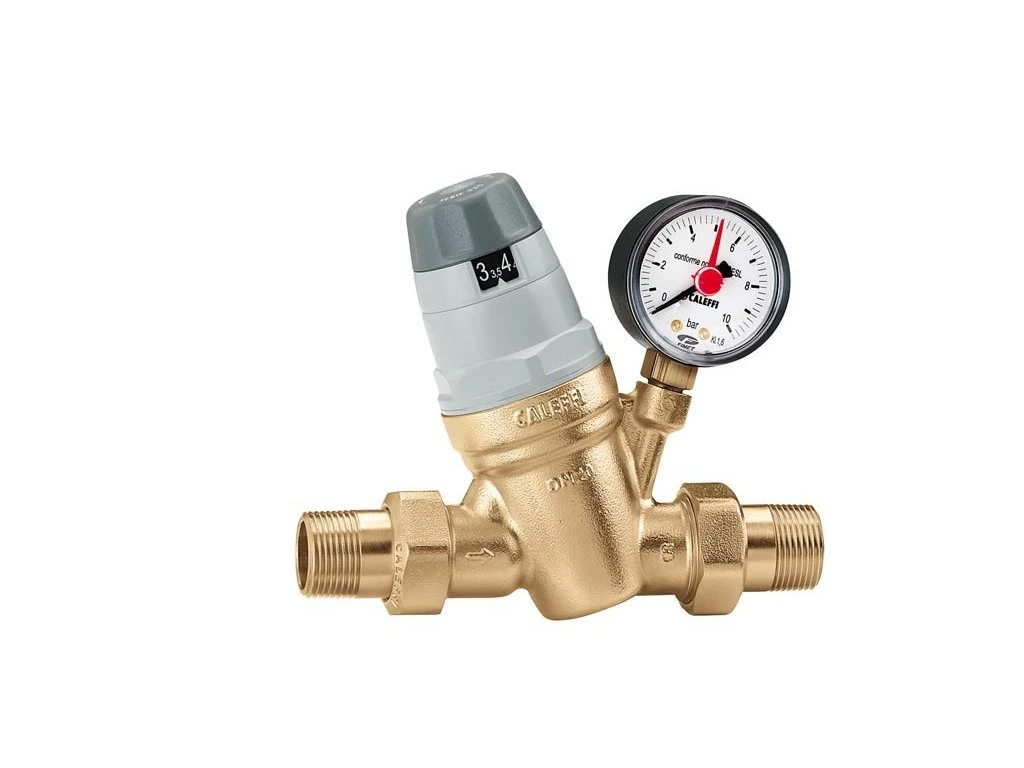 |
Pressure reducing valve 1/2", PN 25bar, working range 1-6 bar, T max.+40 °C, pressure gauge 0-10 bar - during a complete bathroom renovation, it's worth checking the incoming water pressure too; this reducing valve with a pressure gauge keeps the pressure within a safe range, protecting the flush mechanism, faucets and hoses from unnecessary wear. Price from 90.73 EUR. |
And if the renovation covers not just the bathroom but also the adjacent kitchen (a common combination in larger apartment renovations), it can be useful to sort out the kitchen faucet and sink at the same time, so all the plumbing work in the apartment is with a single supplier and a single visit from the installer:
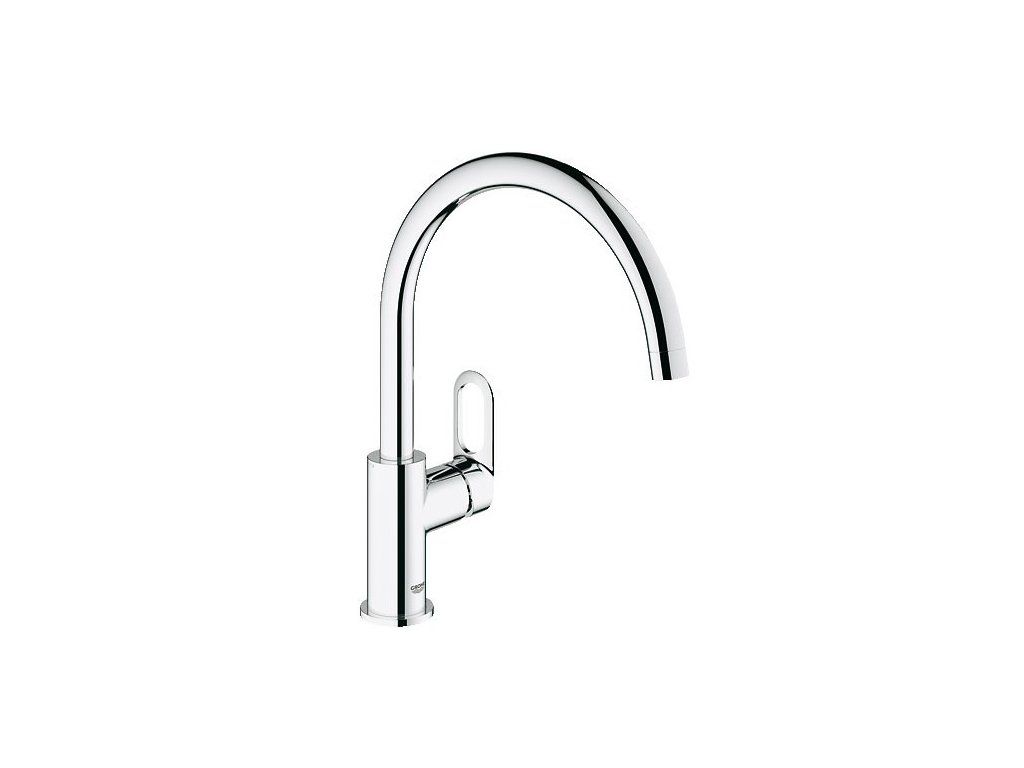 |
946487 deck-mounted sink faucet, LOOP - if the renovation includes the kitchen too, this deck-mounted sink faucet is a practical choice for simultaneous replacement together with the toilet seat as part of one project. Price from 114.75 EUR. |
Price Categories and What You Get for Them
To give you a clear picture when choosing, let's summarize the three main price bands and what you can realistically expect in them:
Basic class (approx. €8-15) – hard plastic, classic screw fixing, no soft-close. Suitable as a quick emergency replacement or for rental properties where long-term intensive use isn't expected.
Mid class (approx. €20-35) – usually duroplastic or better-quality lacquered wood/MDF, often already with quick-release, occasionally also soft-close. The best price-to-durability ratio for an ordinary household.
Premium class (€40-70 and up) – quality duroplastic with soft-close as standard, top-fix mounting, antibacterial treatment, longer warranty, and possibly electronic bidet functions at the top price band.
Toilet Seat Maintenance and Cleaning
To make your new seat last as long as possible, it's worth following a few simple rules. Use ordinary non-abrasive cleaning agents for cleaning – mild detergents or special sanitary cleaners. Avoid hard abrasive sponges and powdered cleaning agents with an abrasive effect, which even on duroplastic gradually create micro-scratches that later catch dirt more easily. With wooden and MDF seats, it's important to wipe the surface dry after wet cleaning, so moisture doesn't stay on the lacquer's surface long-term.
Every few months, check that the screws are still tight – repeated sitting and standing gradually loosens even quality fixings slightly, and a simple tightening extends the life of the hinges. With seats that have a soft-close mechanism, no special maintenance is needed, the mechanism is usually maintenance-free for the entire lifespan of the seat.
Frequently Asked Questions
How do I find out if I have an O-shape or D-shape toilet bowl?
Look at the back edge of the bowl from above. If the entire circumference is evenly rounded without a notable break, it's an O-shape. If the back part is more slightly flattened and resembles a flatter letter D, it's a D-shape. If in doubt, photograph the bowl from above and compare it with the images in the seller's product descriptions.
Will a universal seat fit any bowl?
Usually only the mounting screw spacing is universal (typically within the 140-160 mm range), not the shape or overall length. That's why, even with a "universal" seat, we recommend comparing the shape and dimensions with your bowl.
Is the soft-close mechanism worth it even though it's more expensive?
For an ordinary household, yes – the €10-15 surcharge pays for itself in quieter, gentler use, less stress on the hinges and bowl, and above all greater safety around children. The only exception might be rental properties with a minimal equipment budget.
How long does a quality duroplastic seat last?
With normal household use, the lifespan of a quality duroplastic seat is typically between 8 and 12 years, and even longer for premium models with a reinforced mechanism.
Can I install the seat myself without an installer?
Yes, a regular seat replacement is a simple home job manageable in 10-15 minutes with basic tools (a screwdriver, possibly a small flat wrench). We only recommend an installer for electronic bidet seats, which require a connection to the electrical network and a water supply.
What should I do if the screws spin and won't unscrew?
Try holding the nut from underneath the bowl with a wrench while turning the screw from above with a screwdriver in the opposite direction. If the nut still spins freely, when replacing the seat (not repairing the existing one) the fastest solution is simply to cut the screw with small side-cutting pliers, since you're discarding the old seat anyway.
Related Topics
How to Choose a Bathroom Faucet
Sinks, Bathtubs and Shower Enclosures - How to Choose
How to Install a Bathroom Faucet - Guide
Bathroom Fixture and Faucet Maintenance
You'll find the complete range of fixtures, faucets and plumbing accessories in the main category Bathroom, Fixtures, Faucets.
Have a question on this topic?
Not sure what to decide or dealing with a specific situation at home? Write to us - we're happy to help.